These Small Cheese Manakish have a crunchy, crusty semolina dough topped with mildly salty Akkawi cheese. The best ever, at least according to everyone we know who tried them!
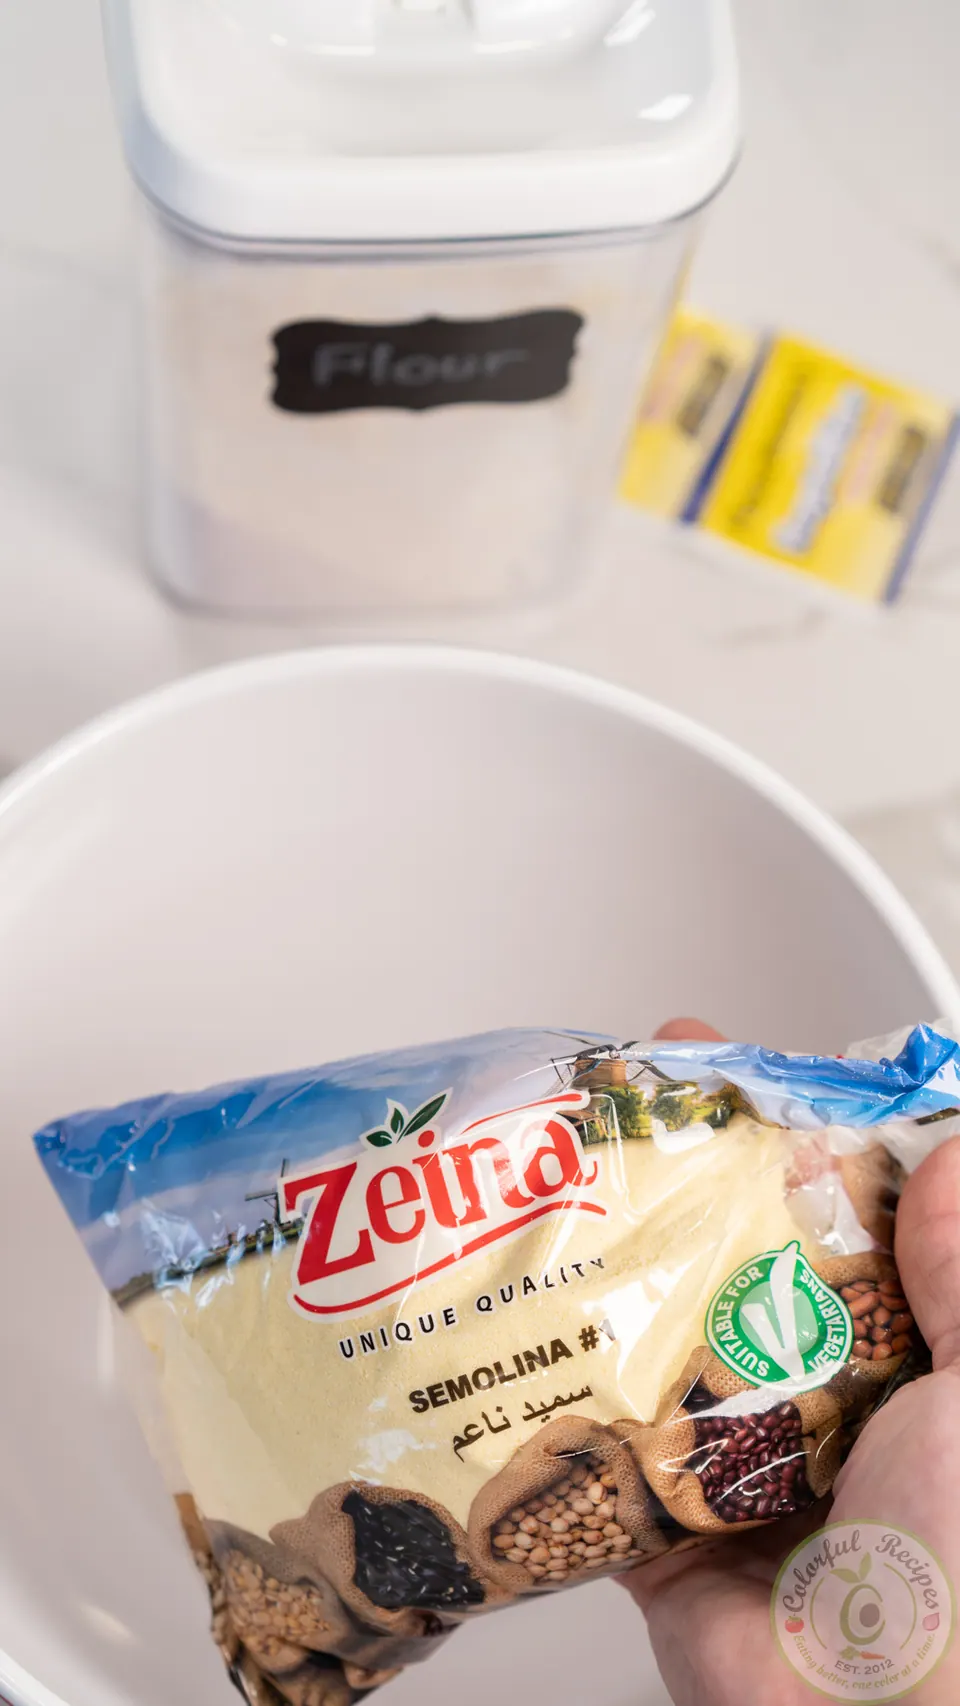
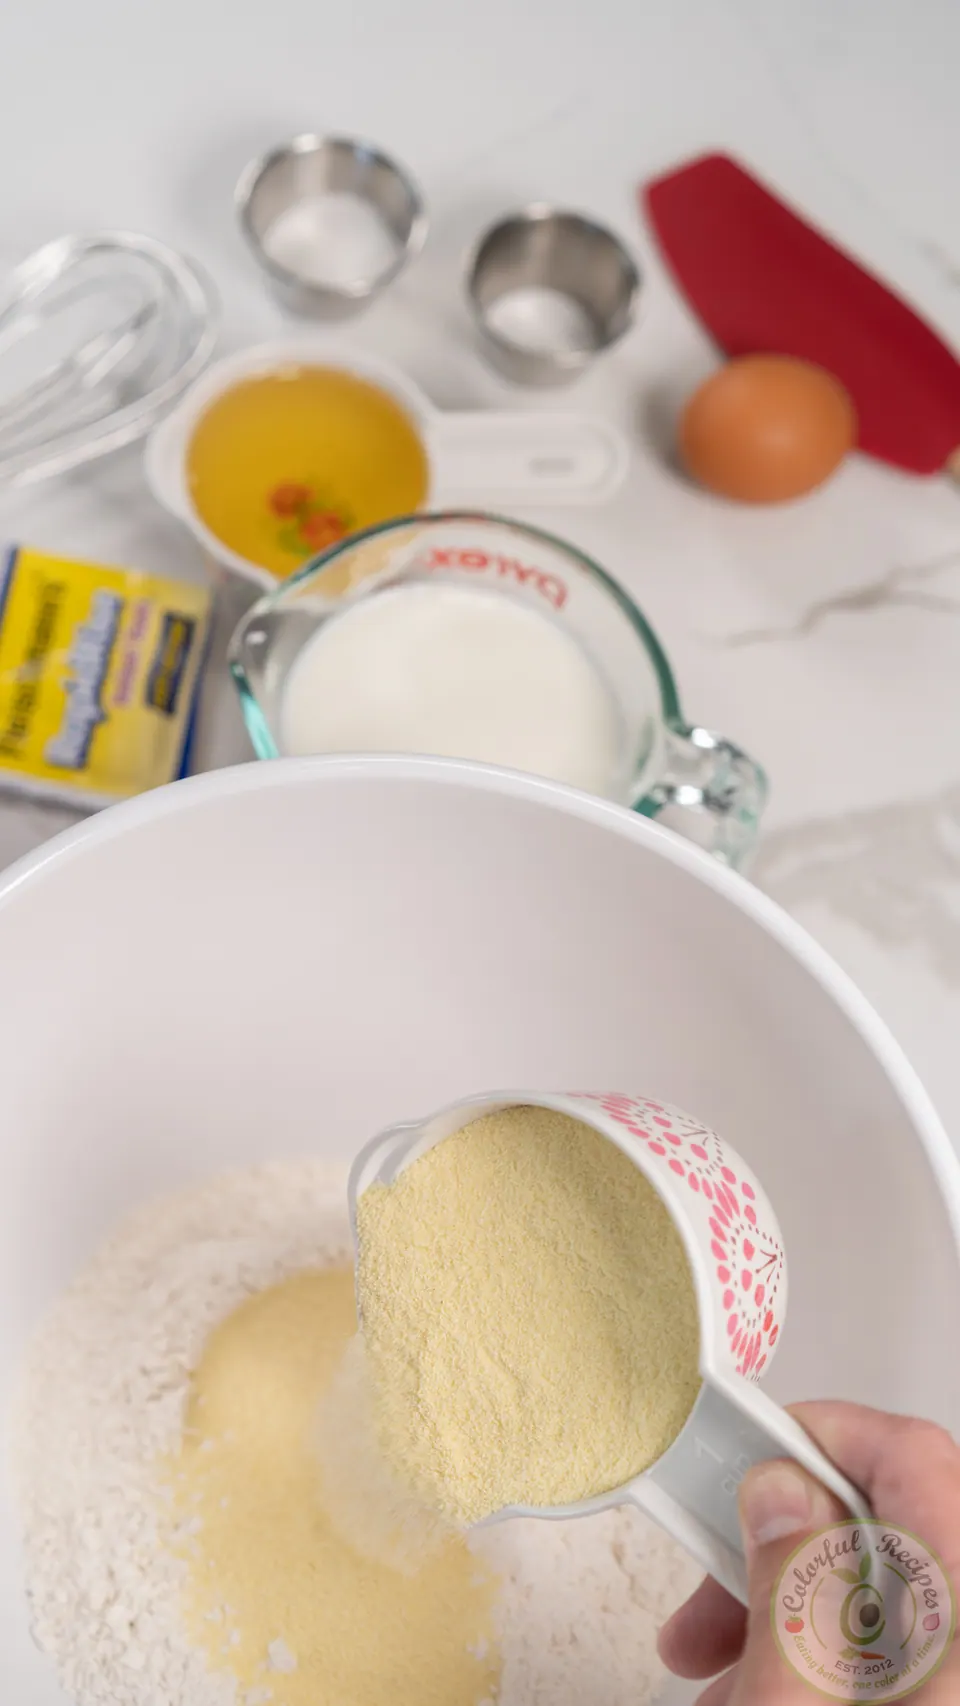
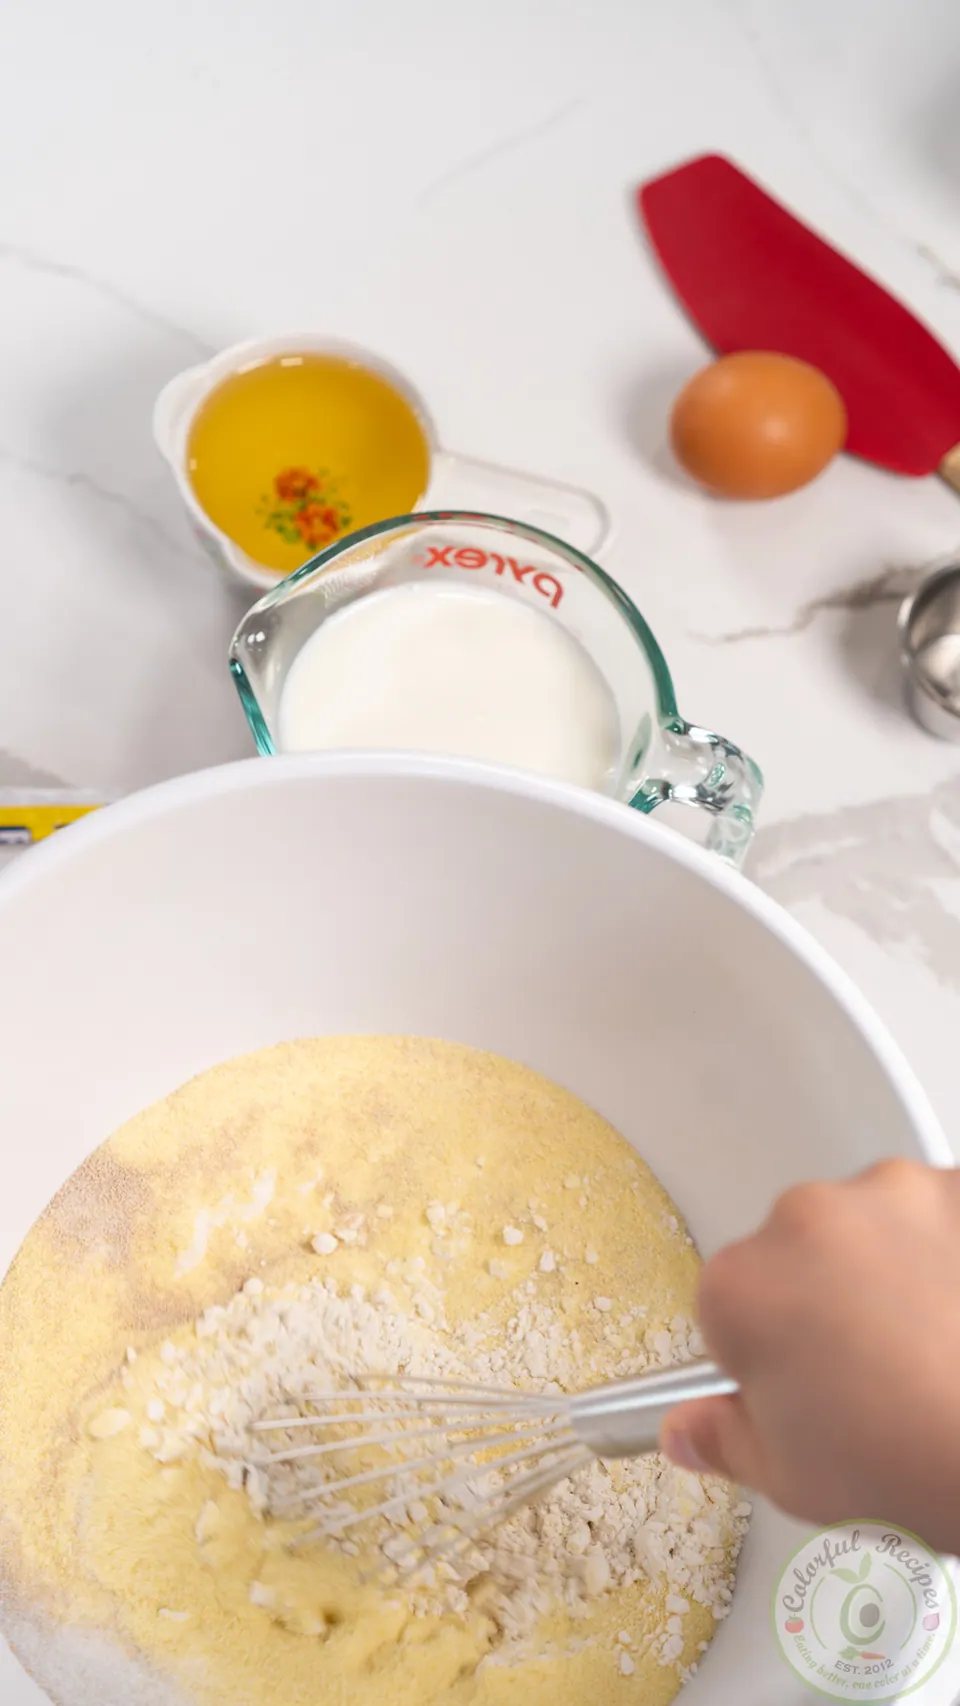
In a large bowl, whisk the flour, semolina, salt, sugar and instant yeast by hand until fully incorporated.
2
Warm the milk to about 100°F. This usually takes 60-90 seconds in a microwave. Make sure it’s not too hot, or it will kill the yeast.
3
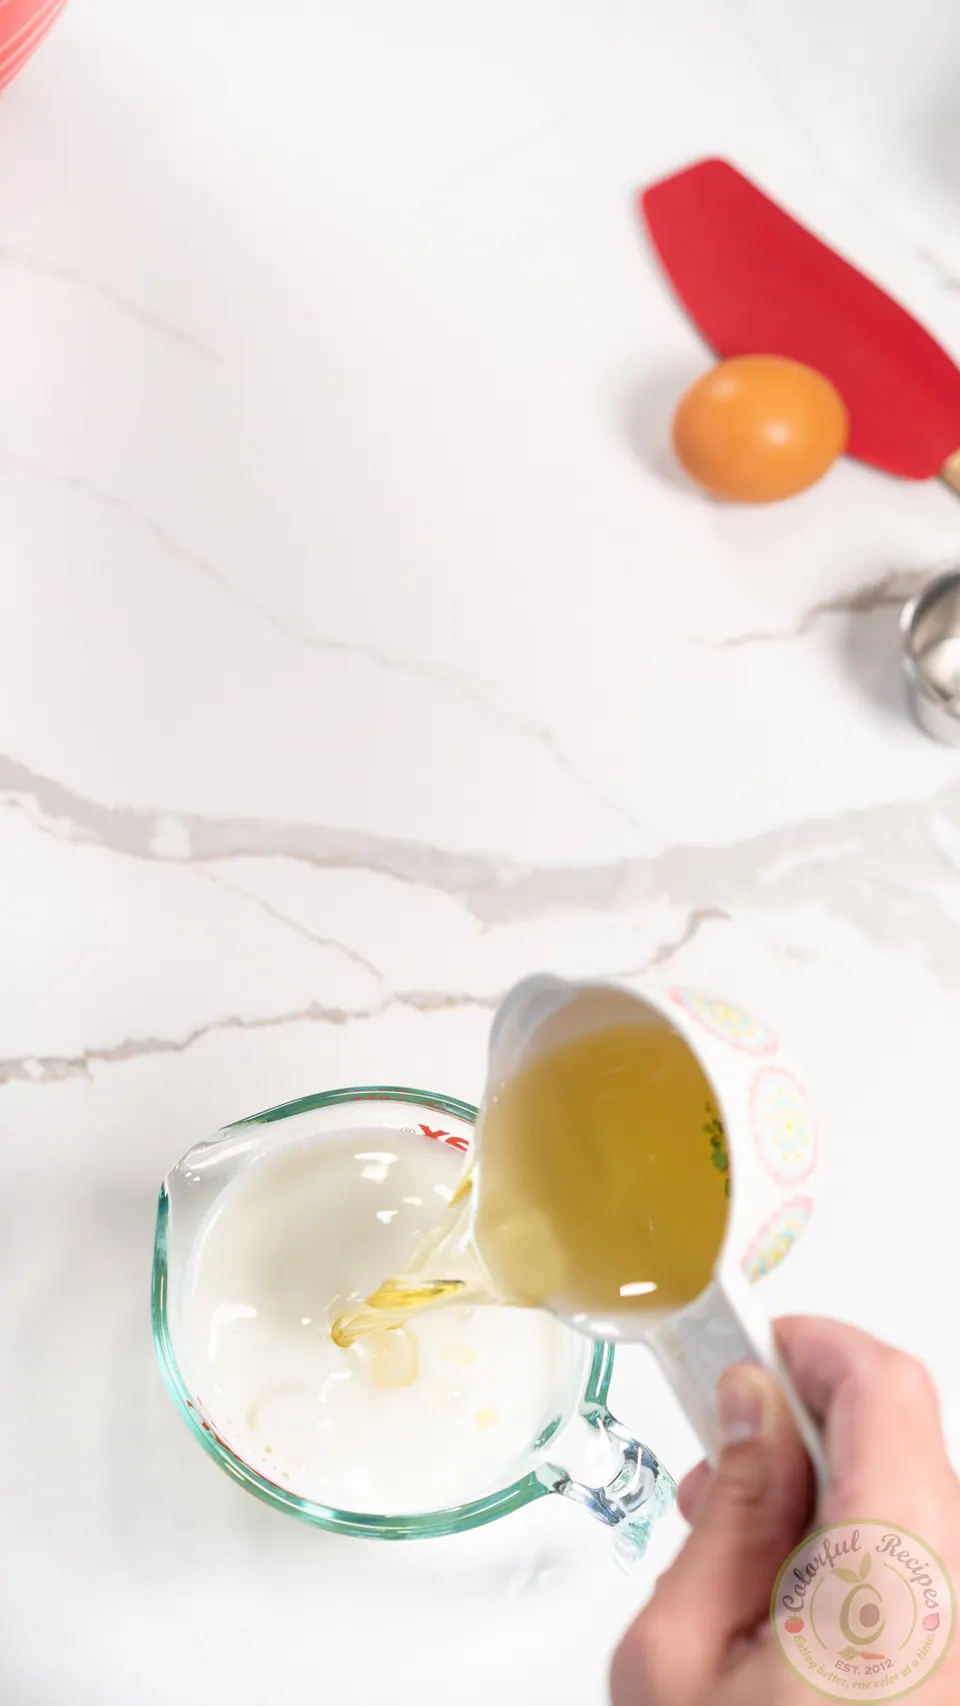
Add the oil to the milk and give it a quick stir.
4
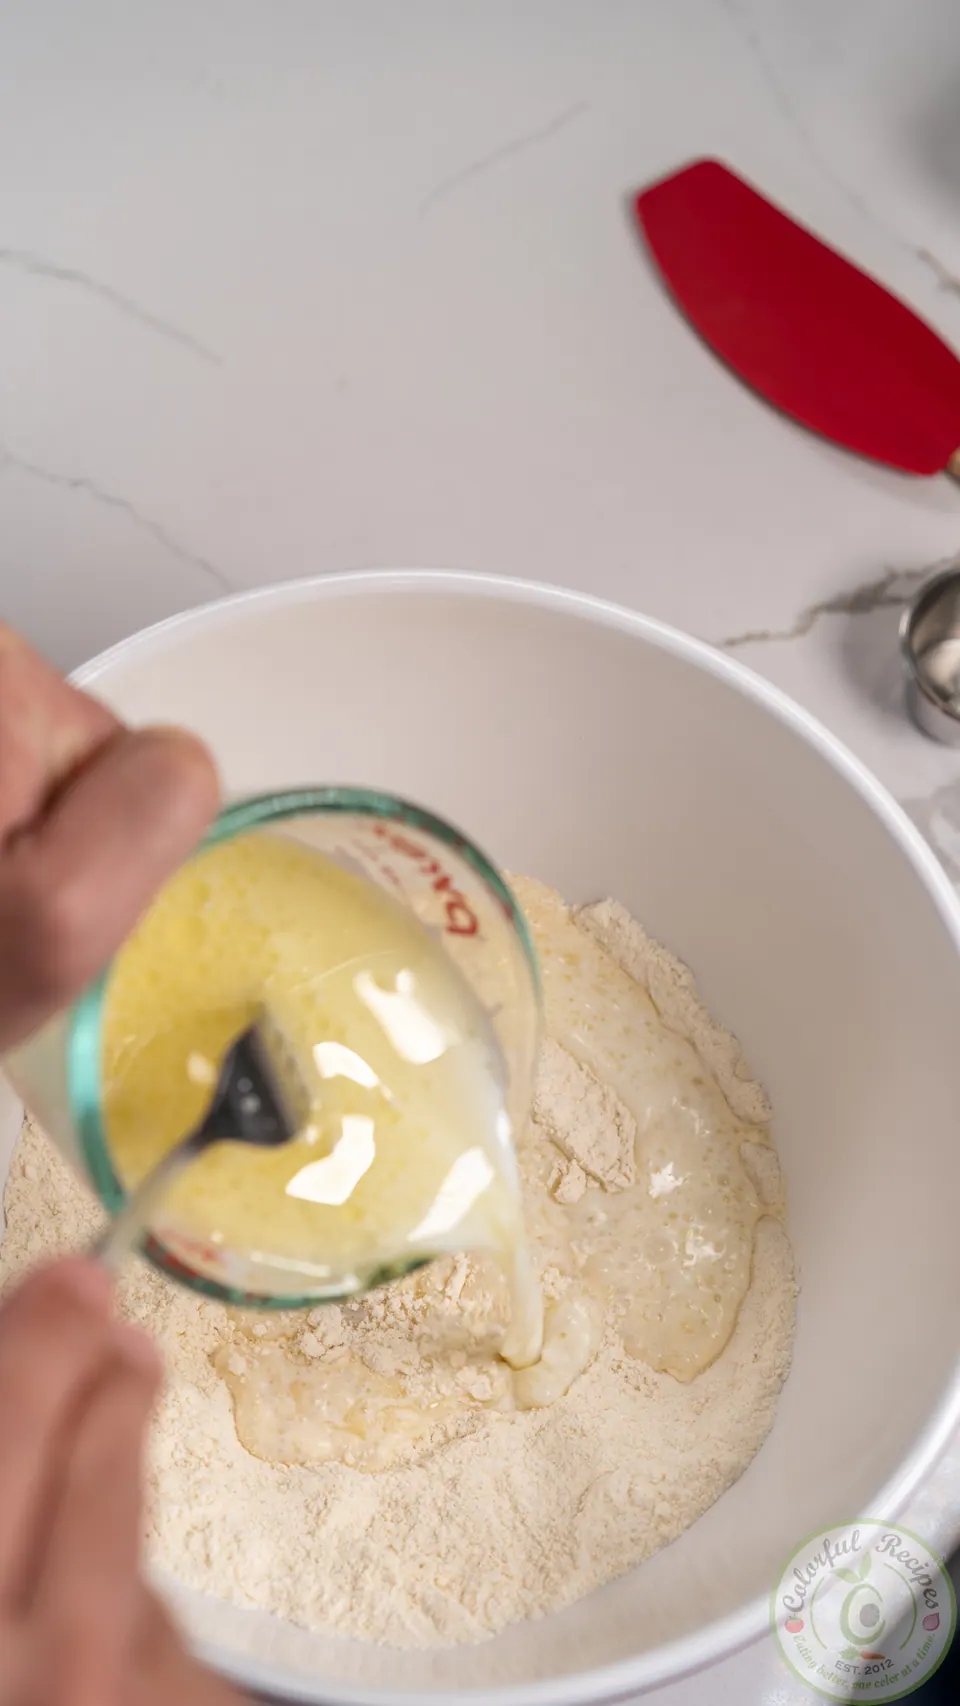
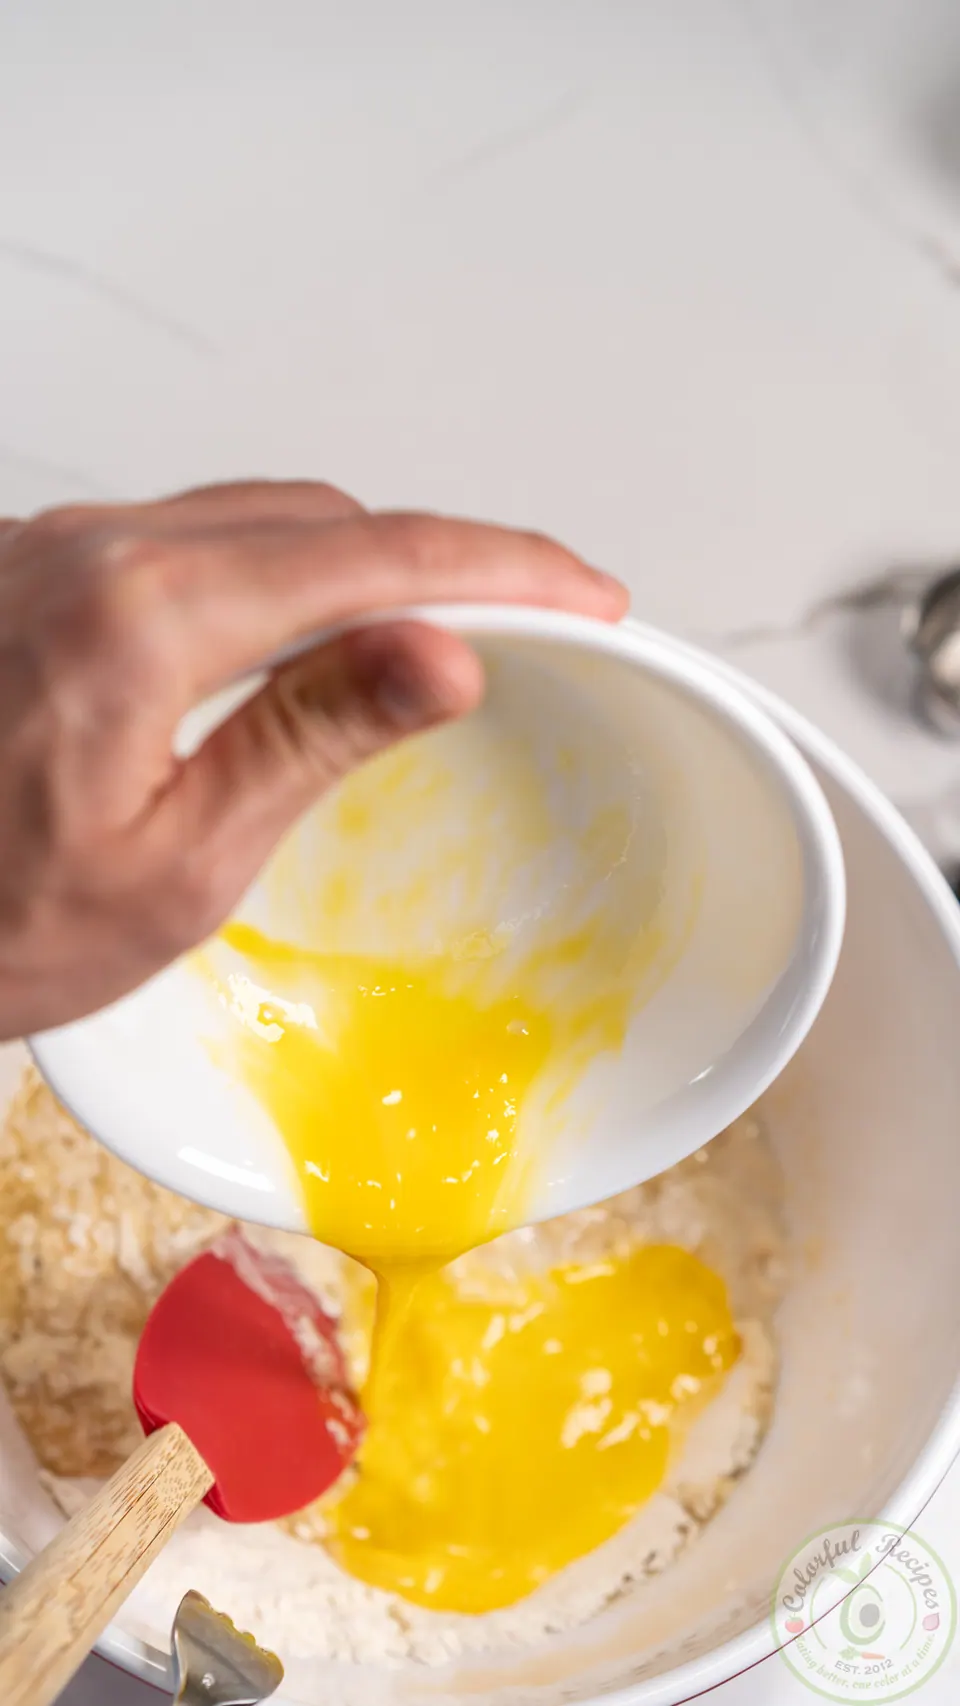
Make a small well in the center of the dry ingredients and pour in the milk/oil mixture.
5
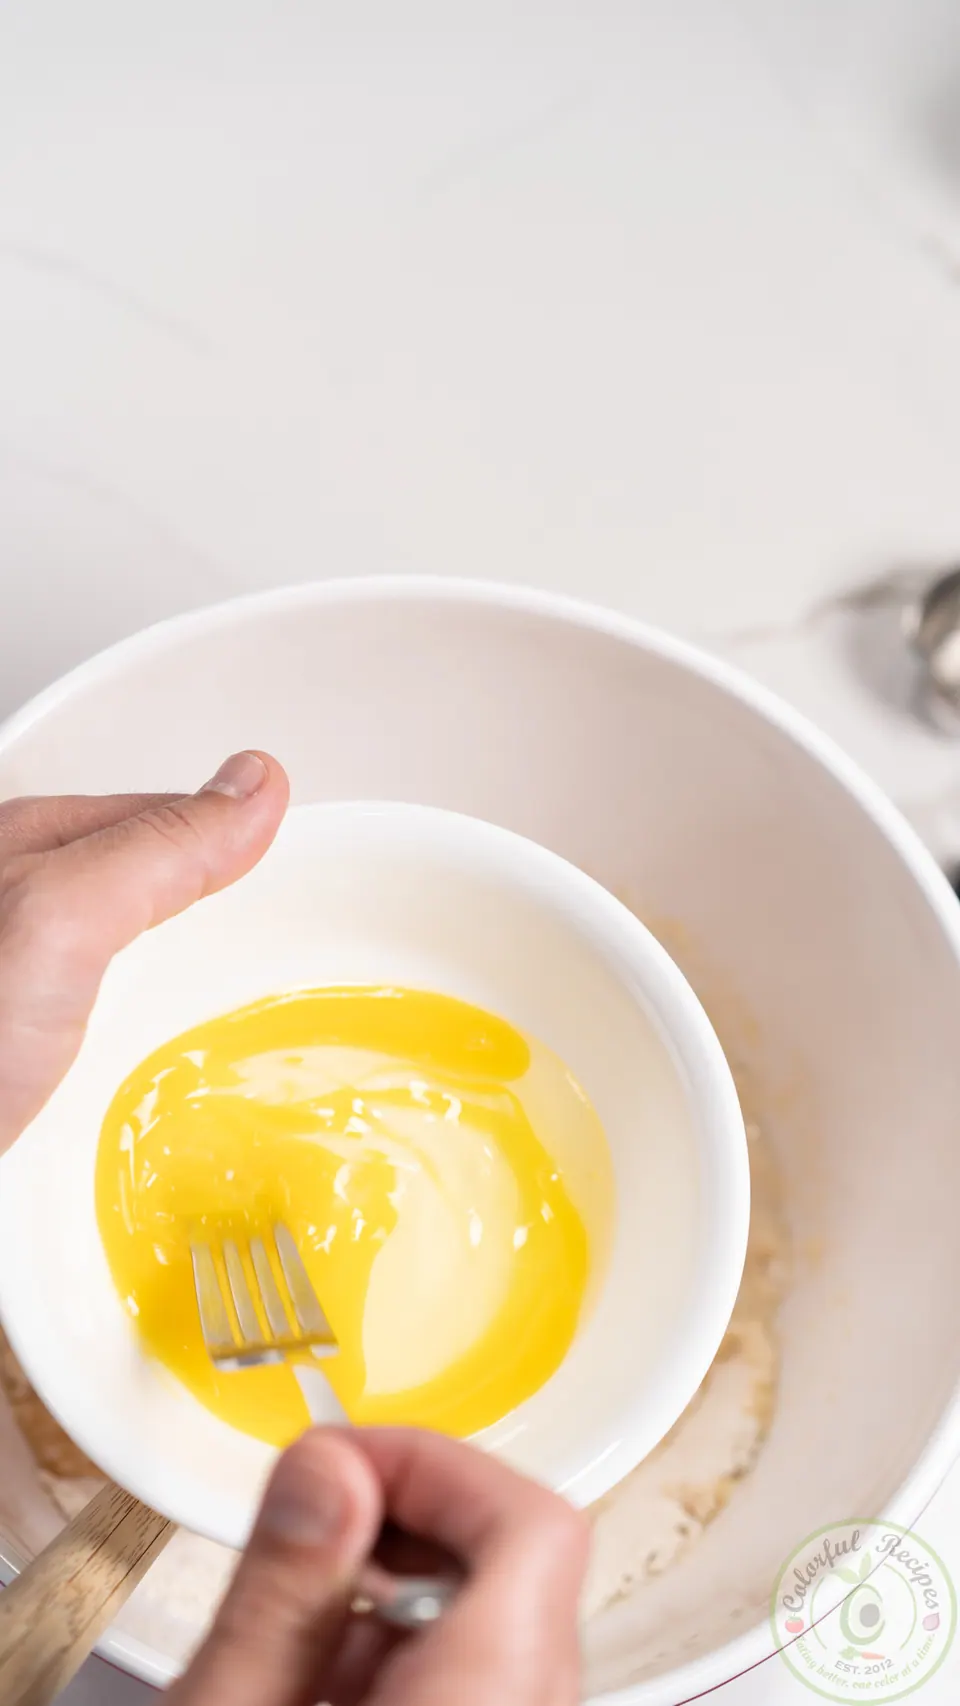
Give the egg a quick whisk with a fork and add it over the milk/oil.
6
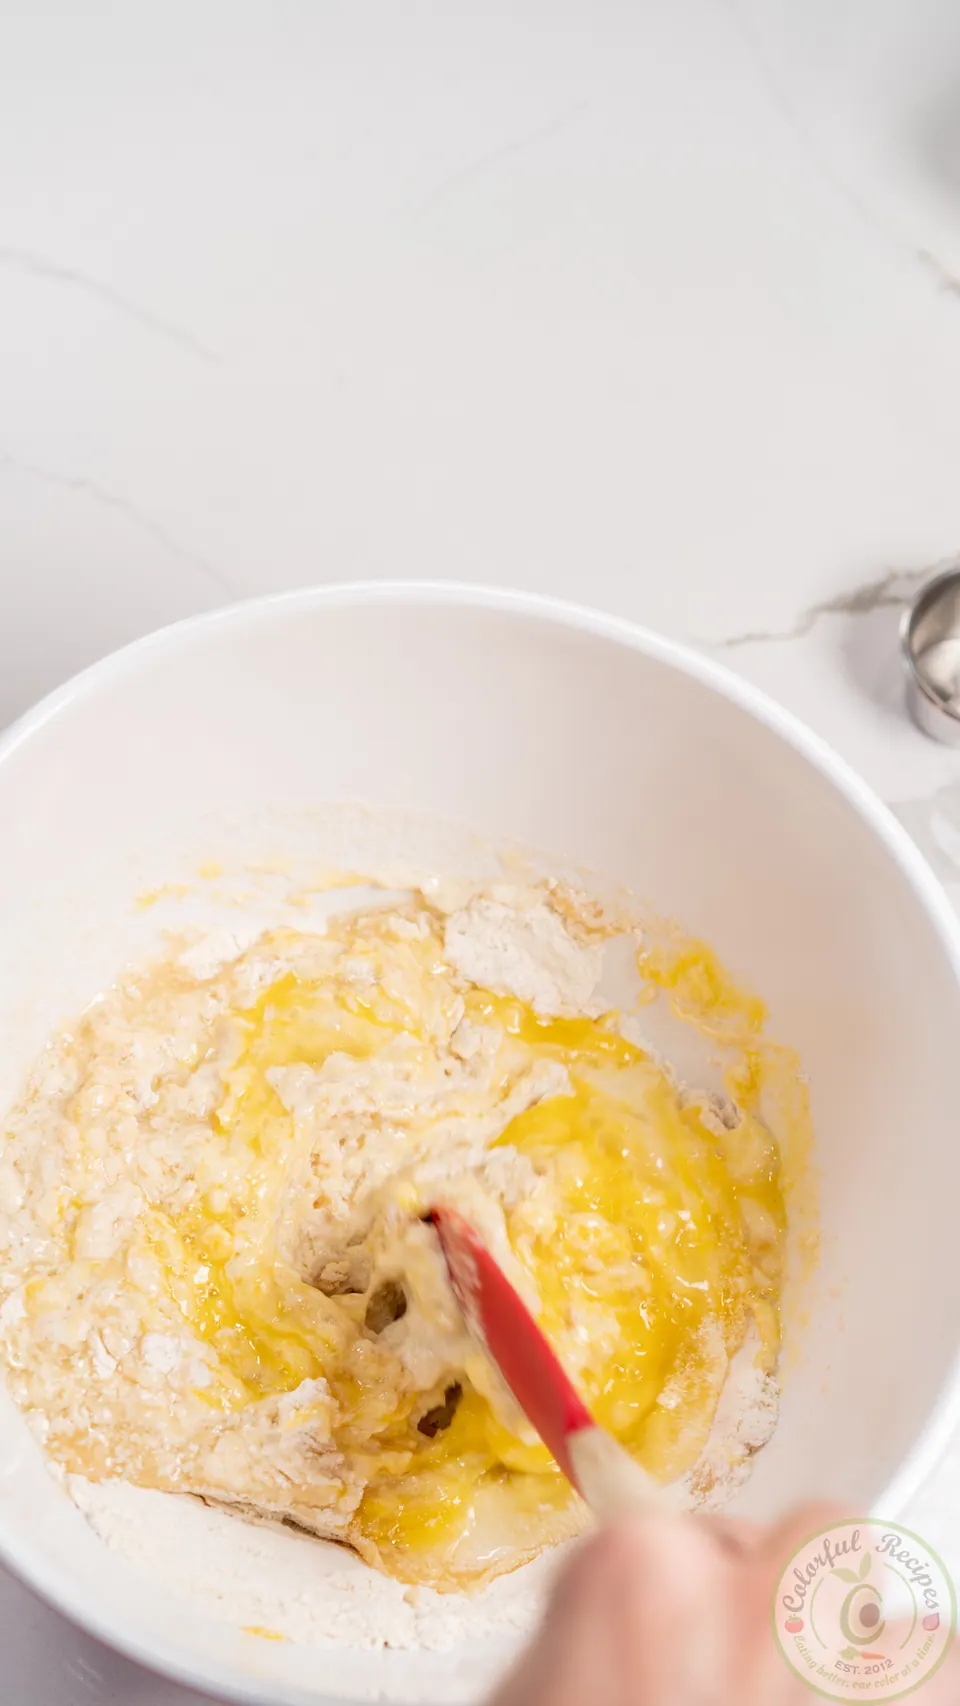
Mix everything gently with a spatula, starting from the center of the well and gradually moving outwards to slowly draw in the dry ingredients.
7
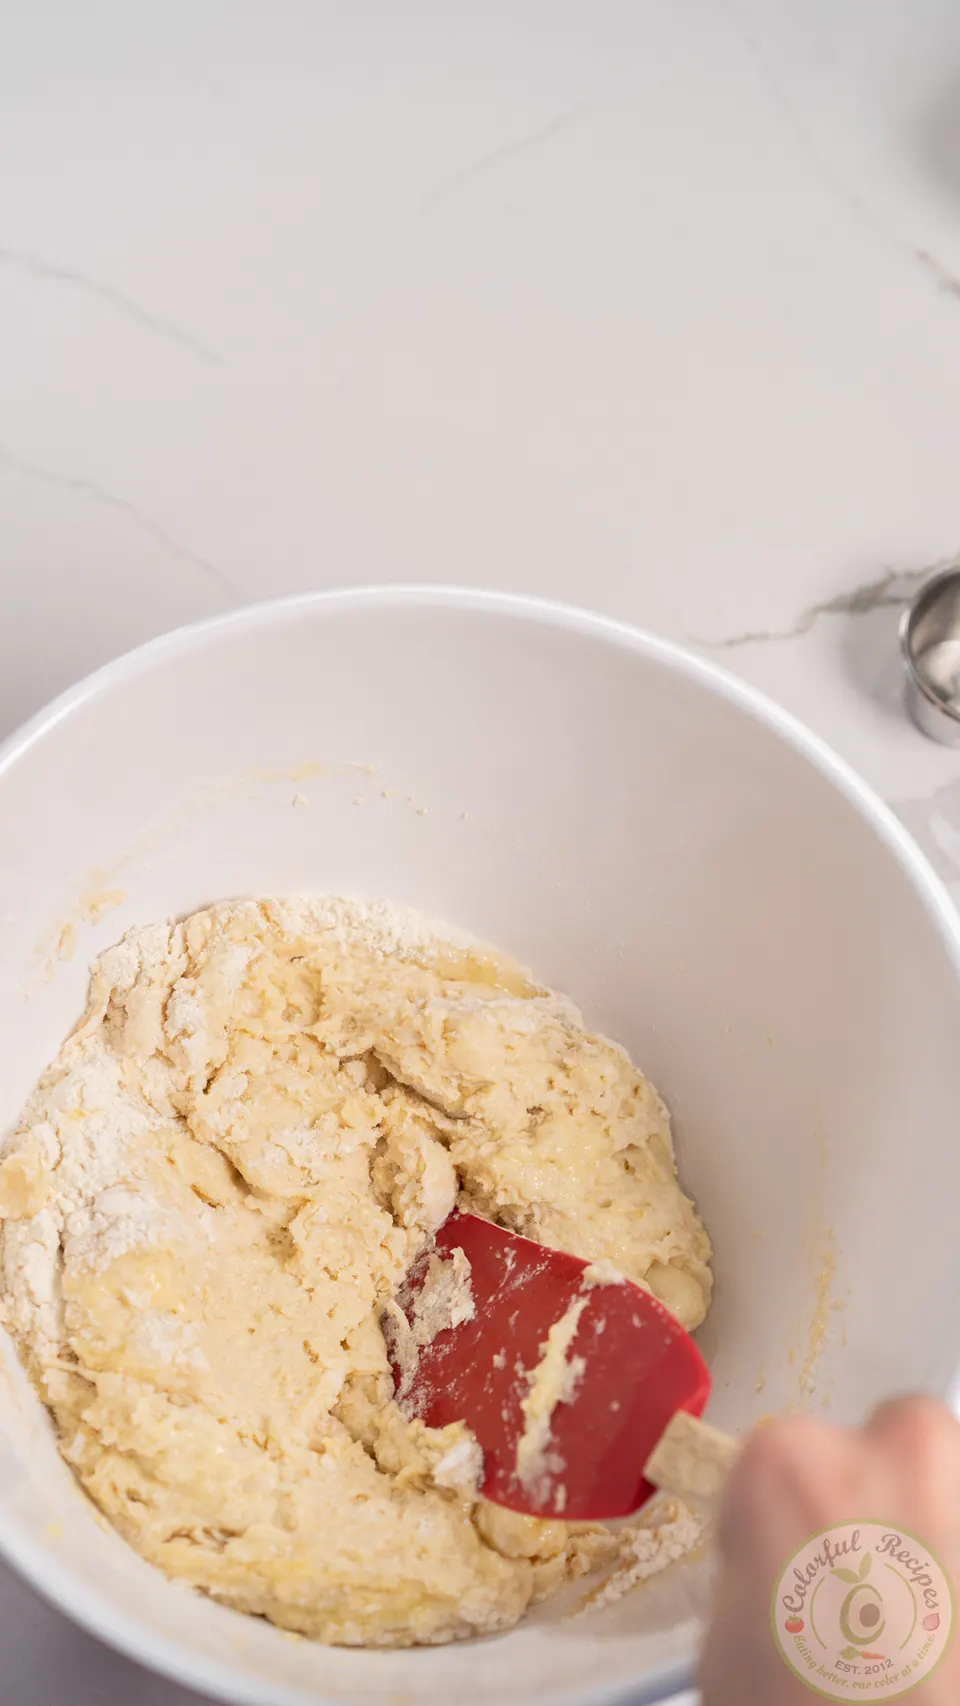
As you mix, press down with the spatula to help the ingredients bond together. Keep using the spatula until the ingredients are well incorporated and not too sticky.
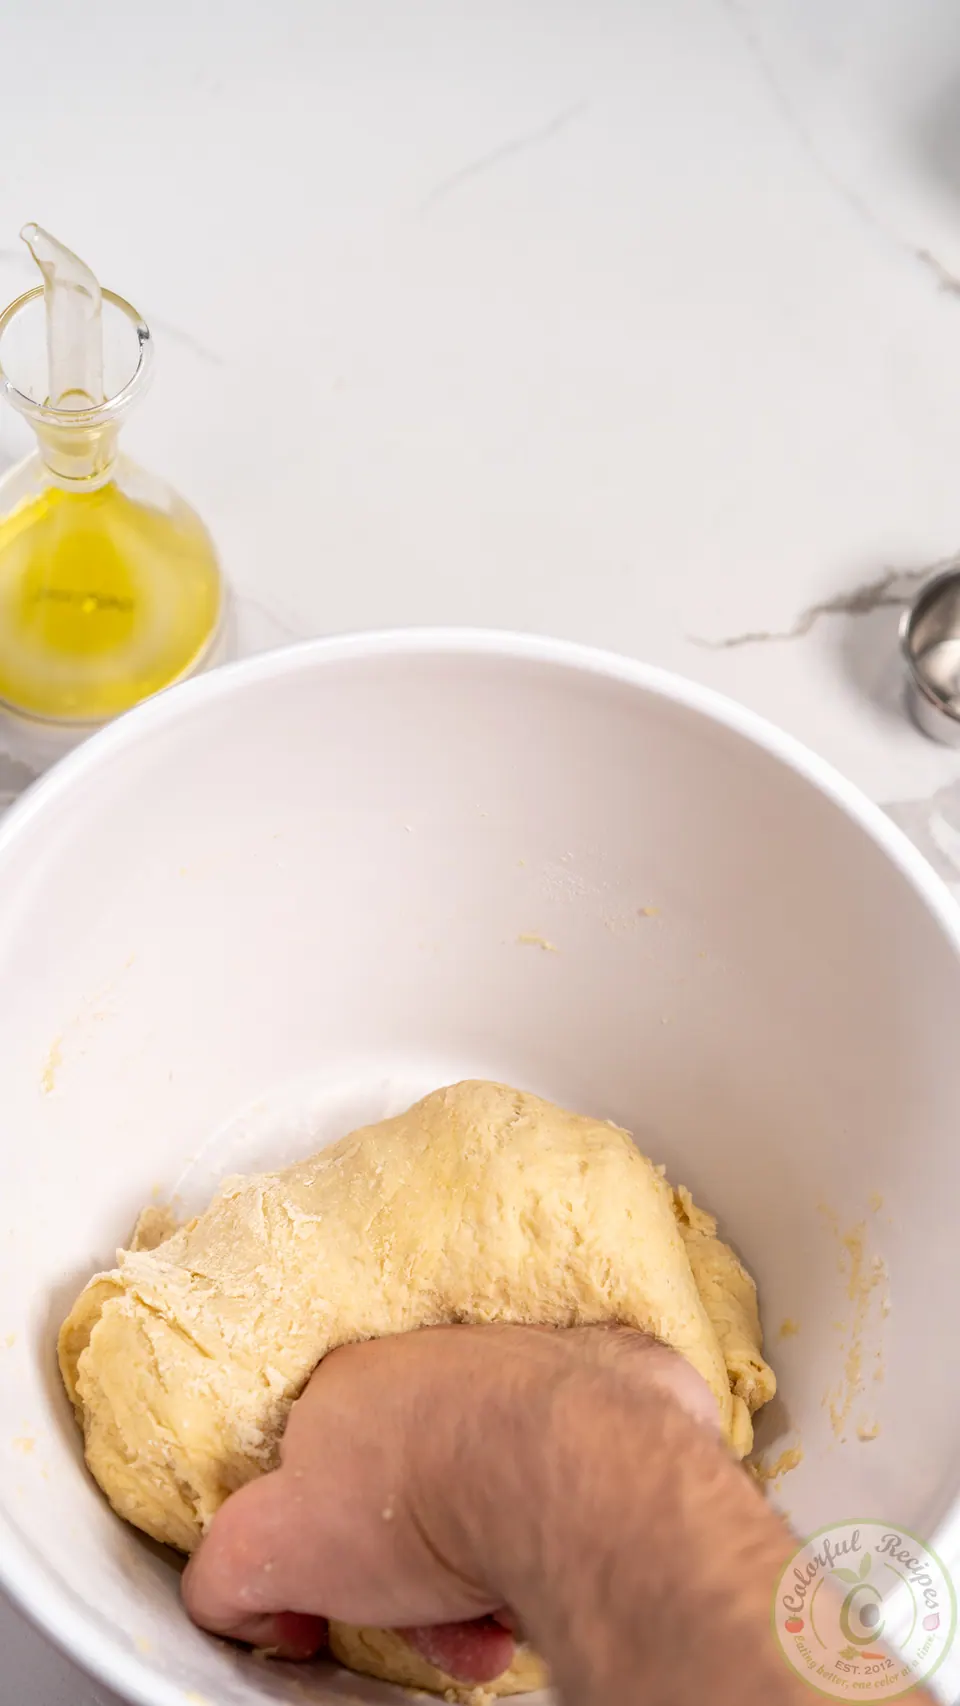
8
Knead the dough with your knuckles for about .
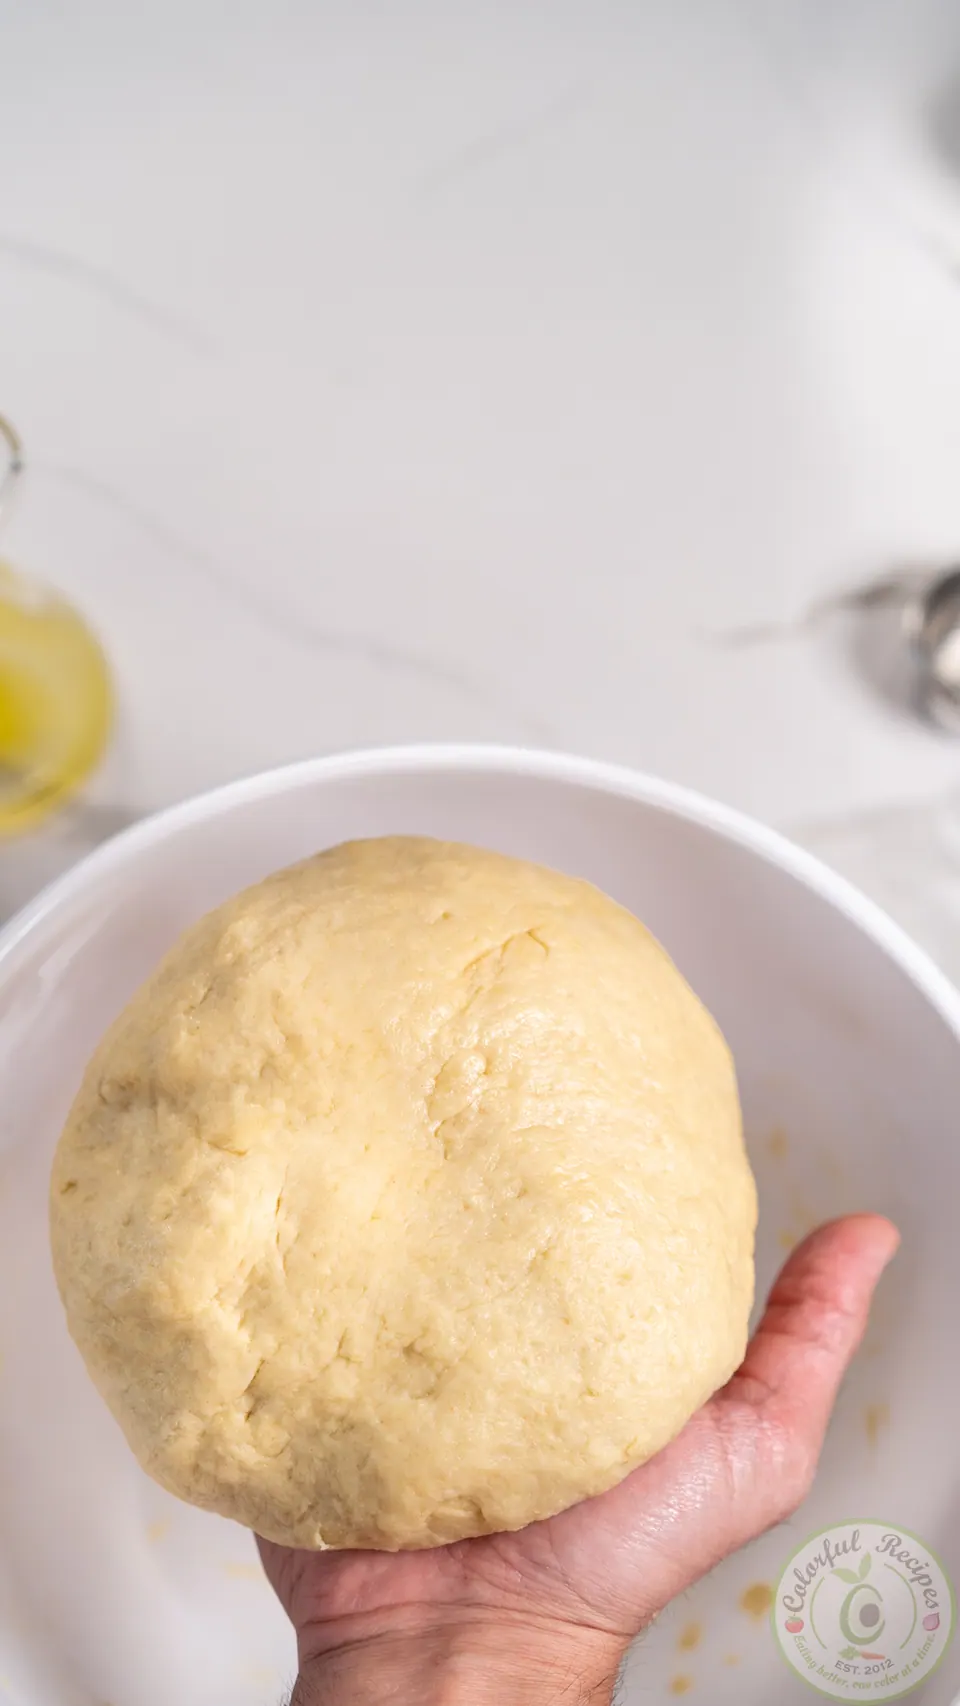
9
Form the dough into a round ball.
10
Oil the inside of the bowl (or another bowl) and place the dough in it.
11
Cover and let rise for about , or until it doubles in size.
Baking prep
1
Prepare 3 half-sheet (18″x13″) baking trays and 3 kitchen towels.
2
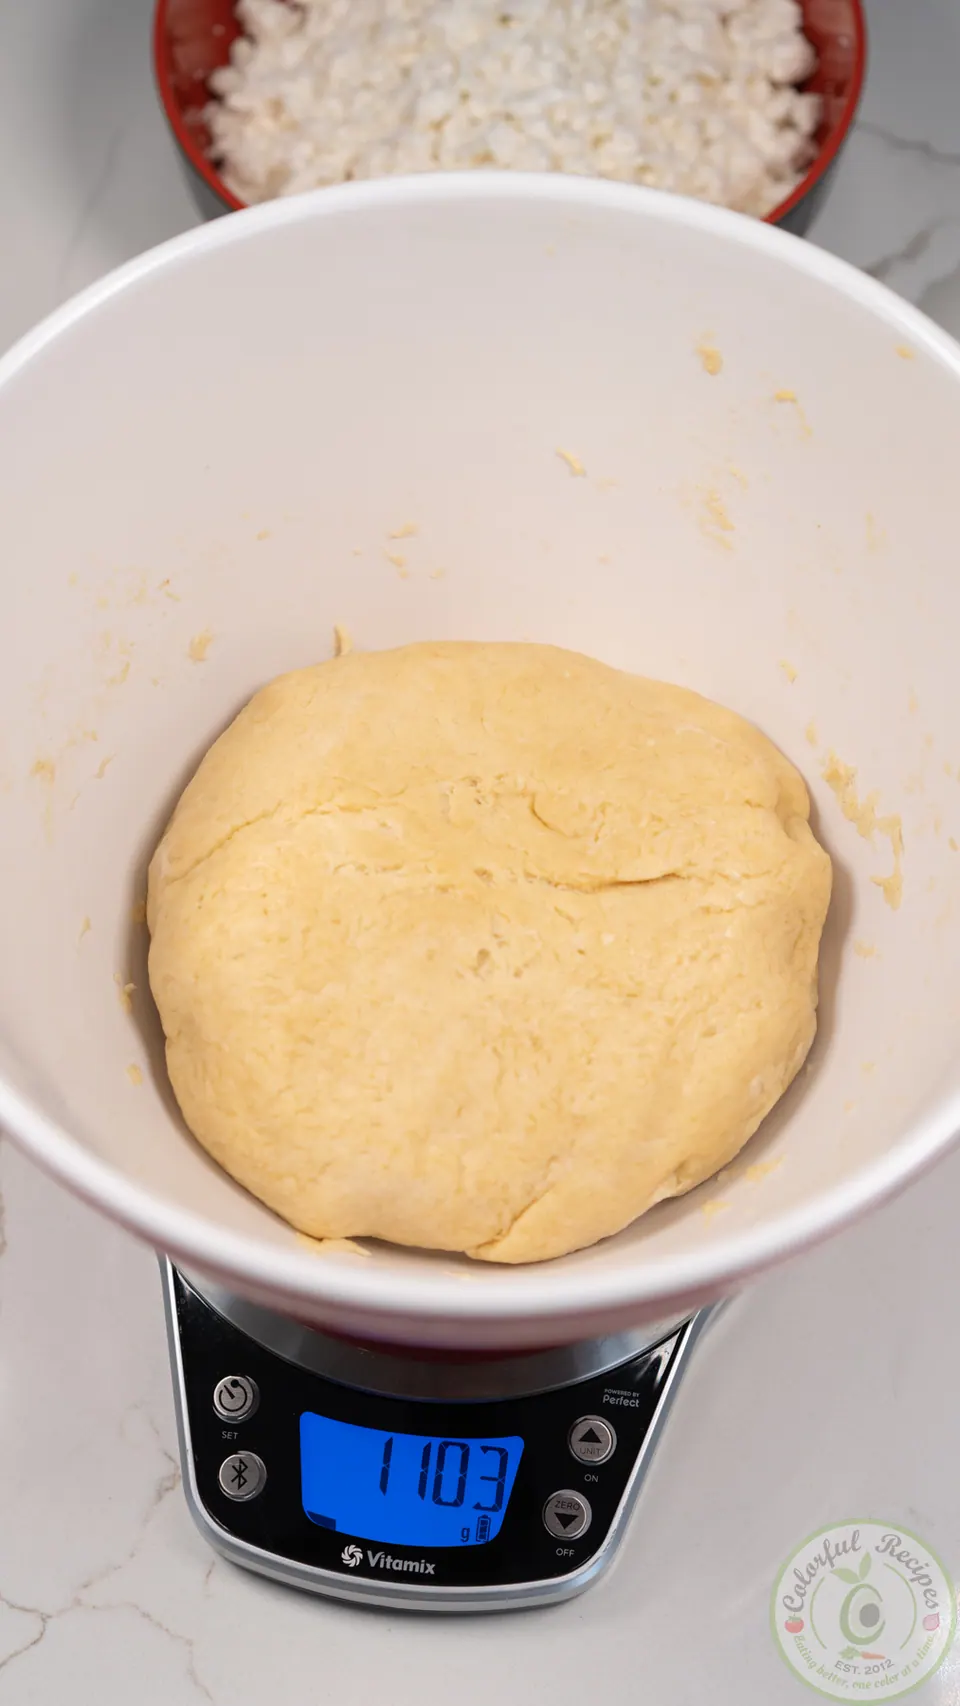
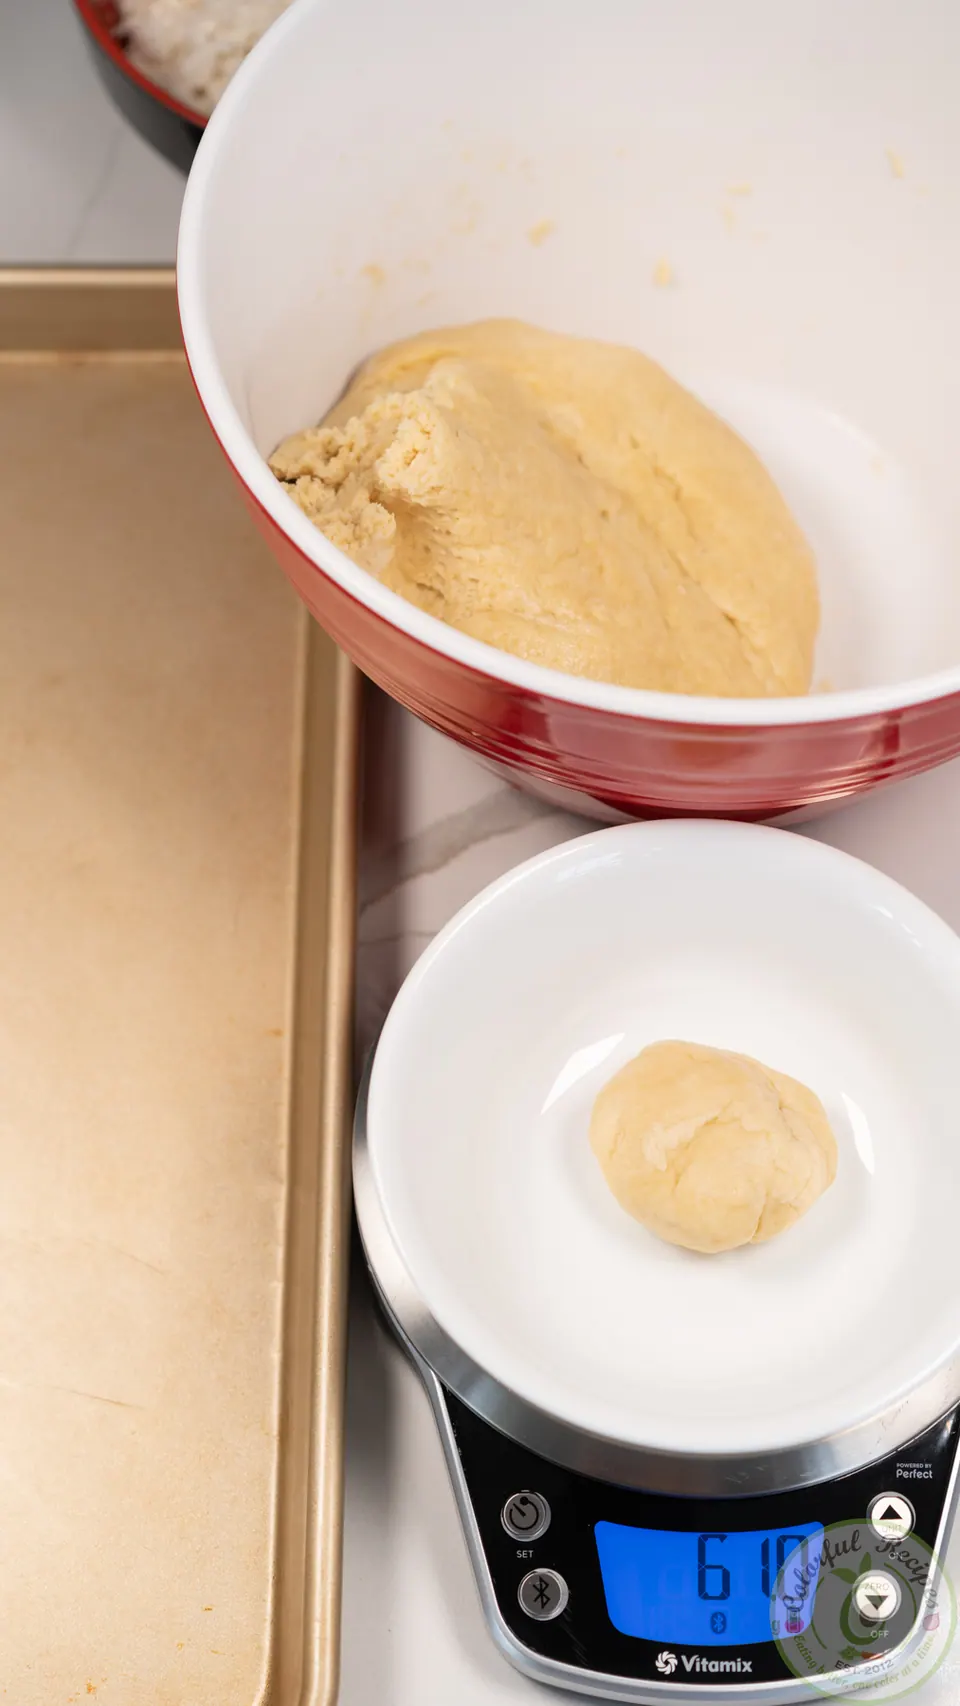
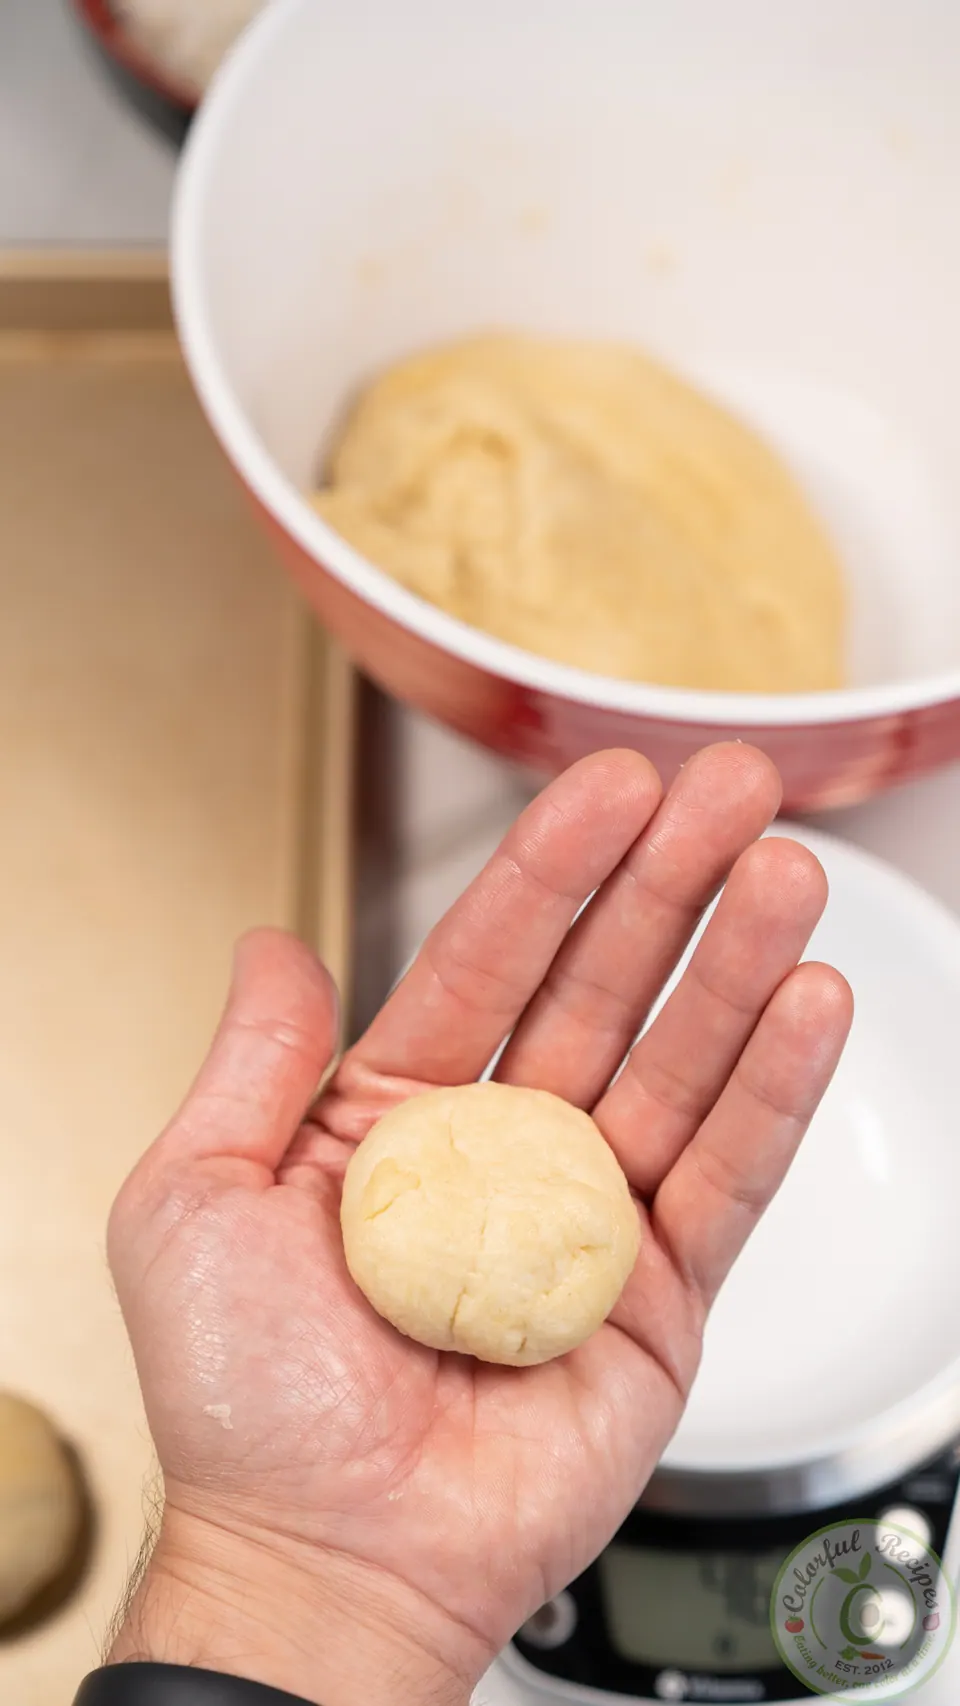
Weigh the dough. It should be about 1150 grams (more or less). Divide the dough into 18 equally sized portions weighing about 60-65 grams each.
3
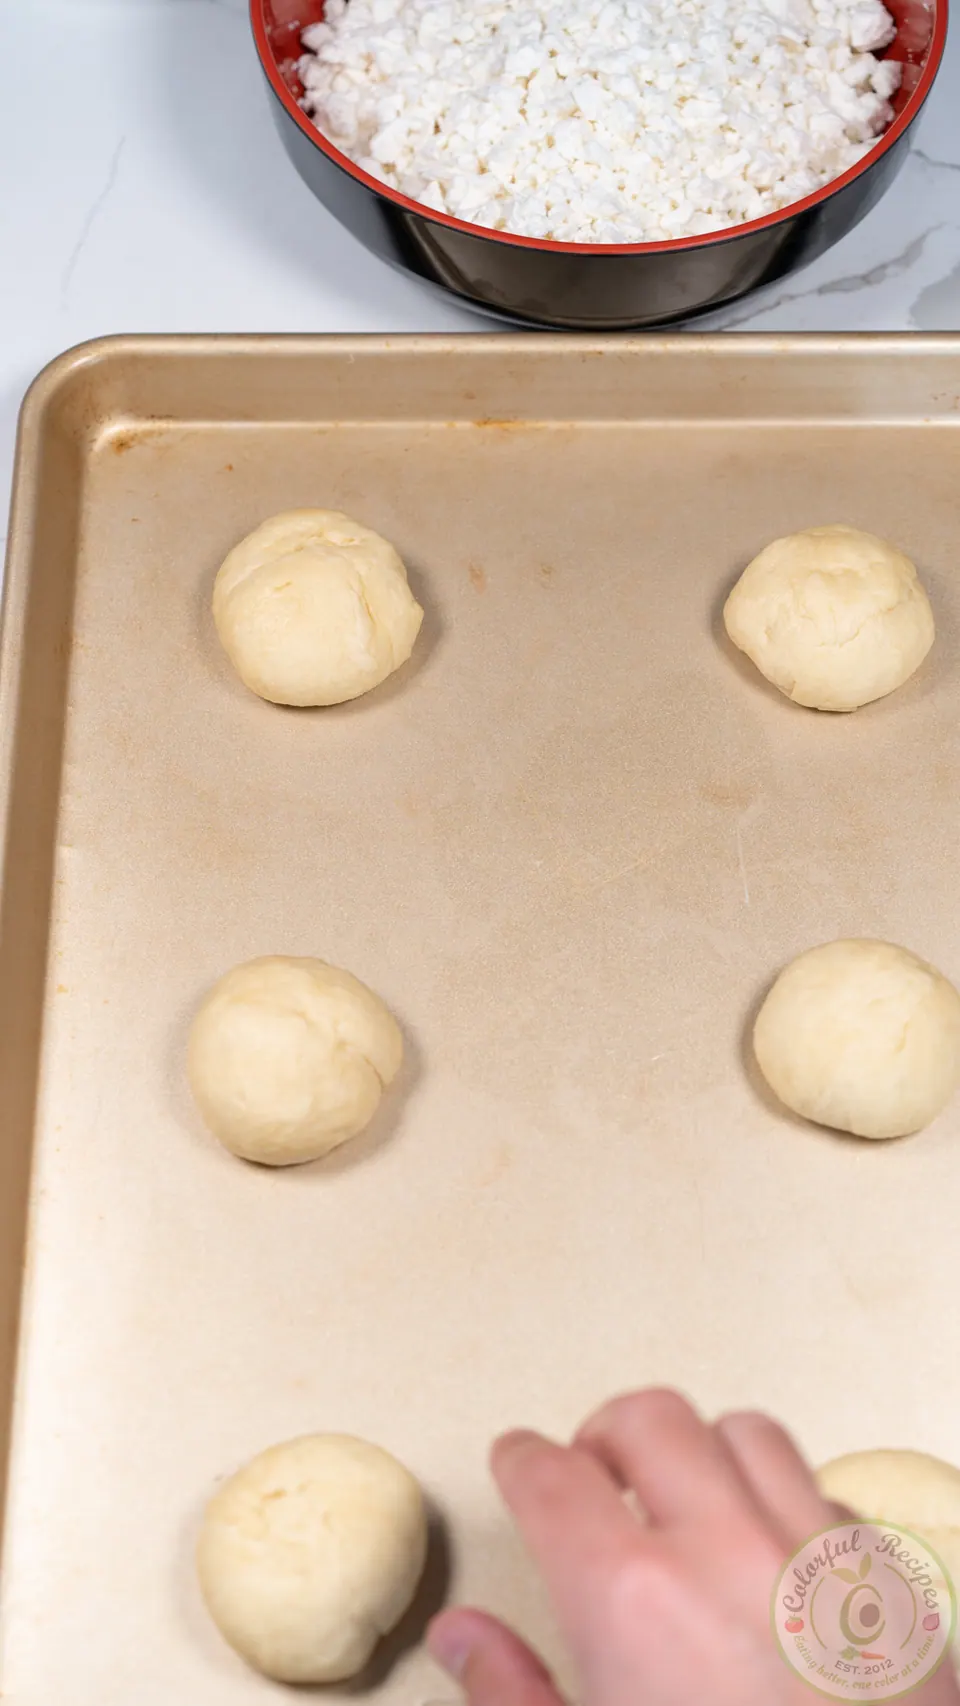
Form each portion into a round ball and place 6 of them on a half-sheet baking tray. No oiling or parchment paper needed.
4
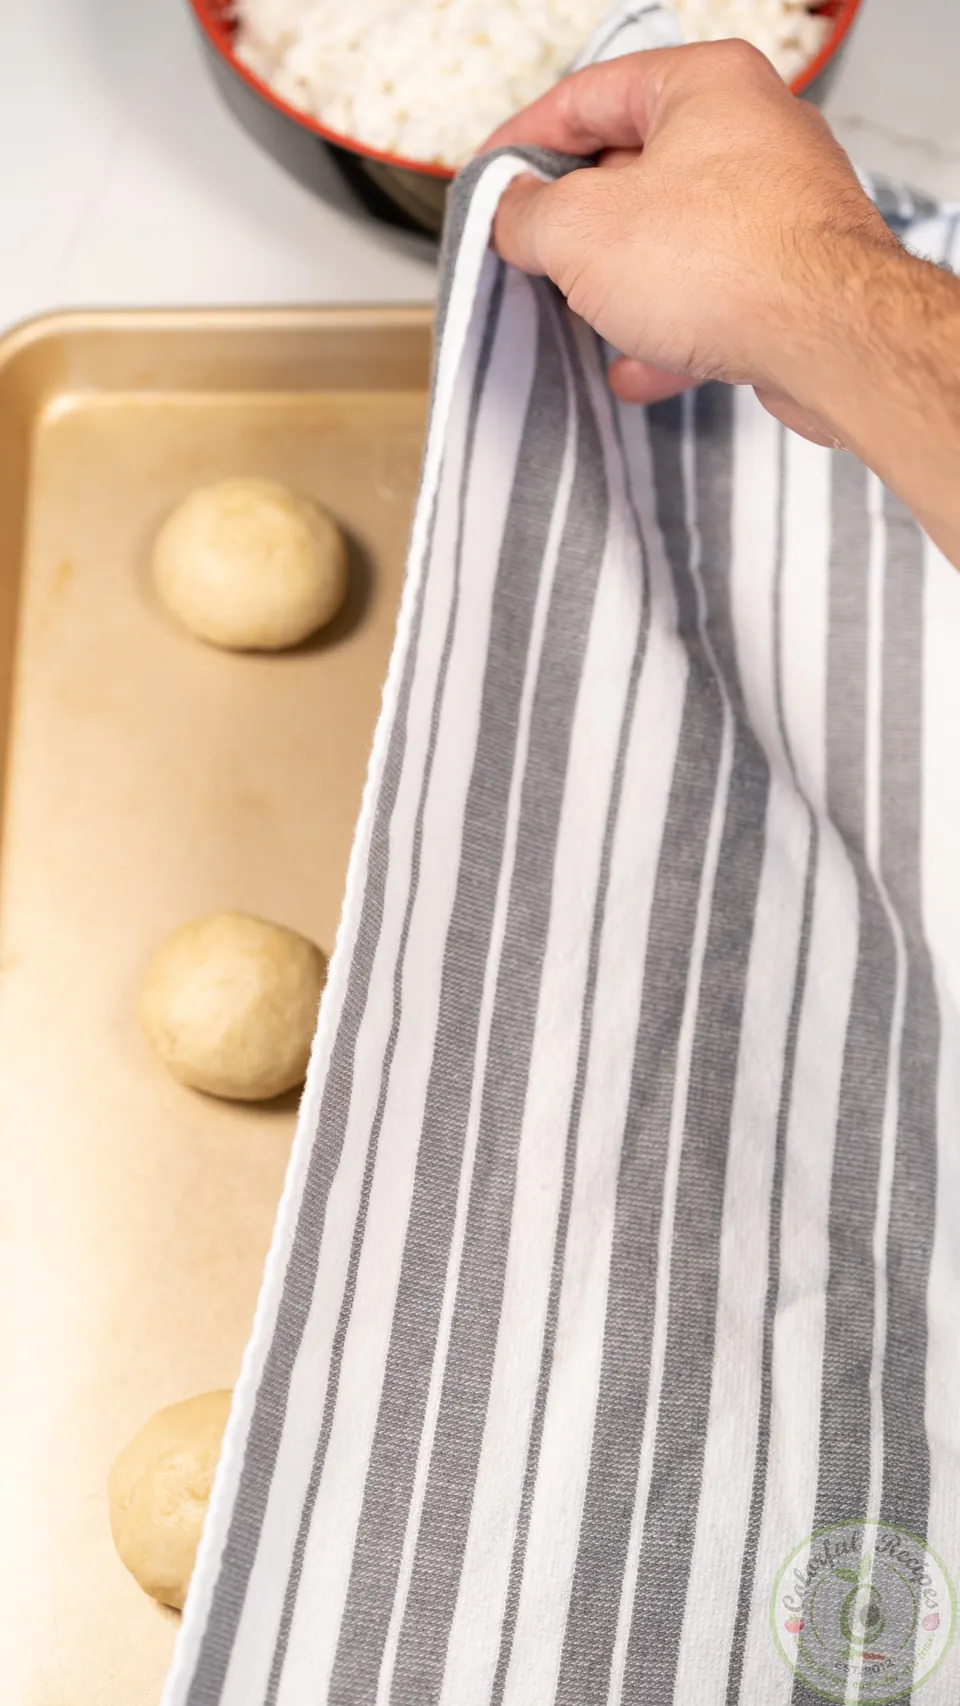
Cover the entire first baking sheet with a kitchen towel and let rest for .
5
Repeat the process for the second baking sheet and cover.
6
Repeat the process for the third baking sheet and cover.
7
Now it’s time to prepare the cheese (see below).
8
Uncover the first baking sheet. Leave the others covered until you place the first one in the oven.
9
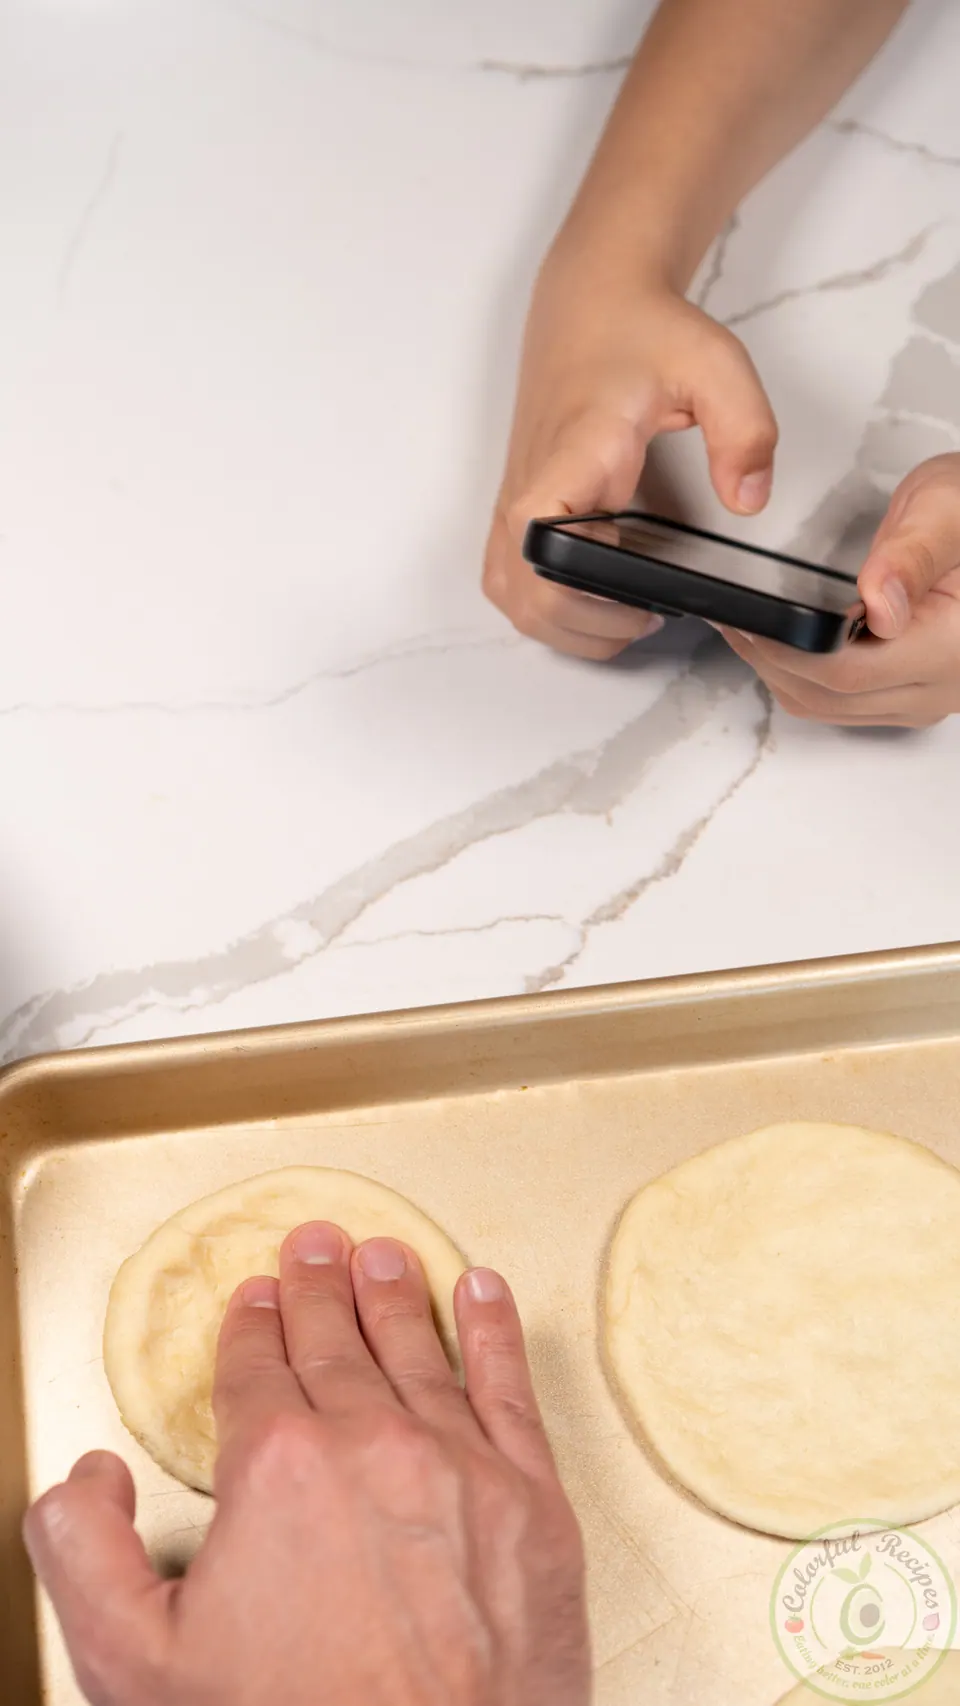
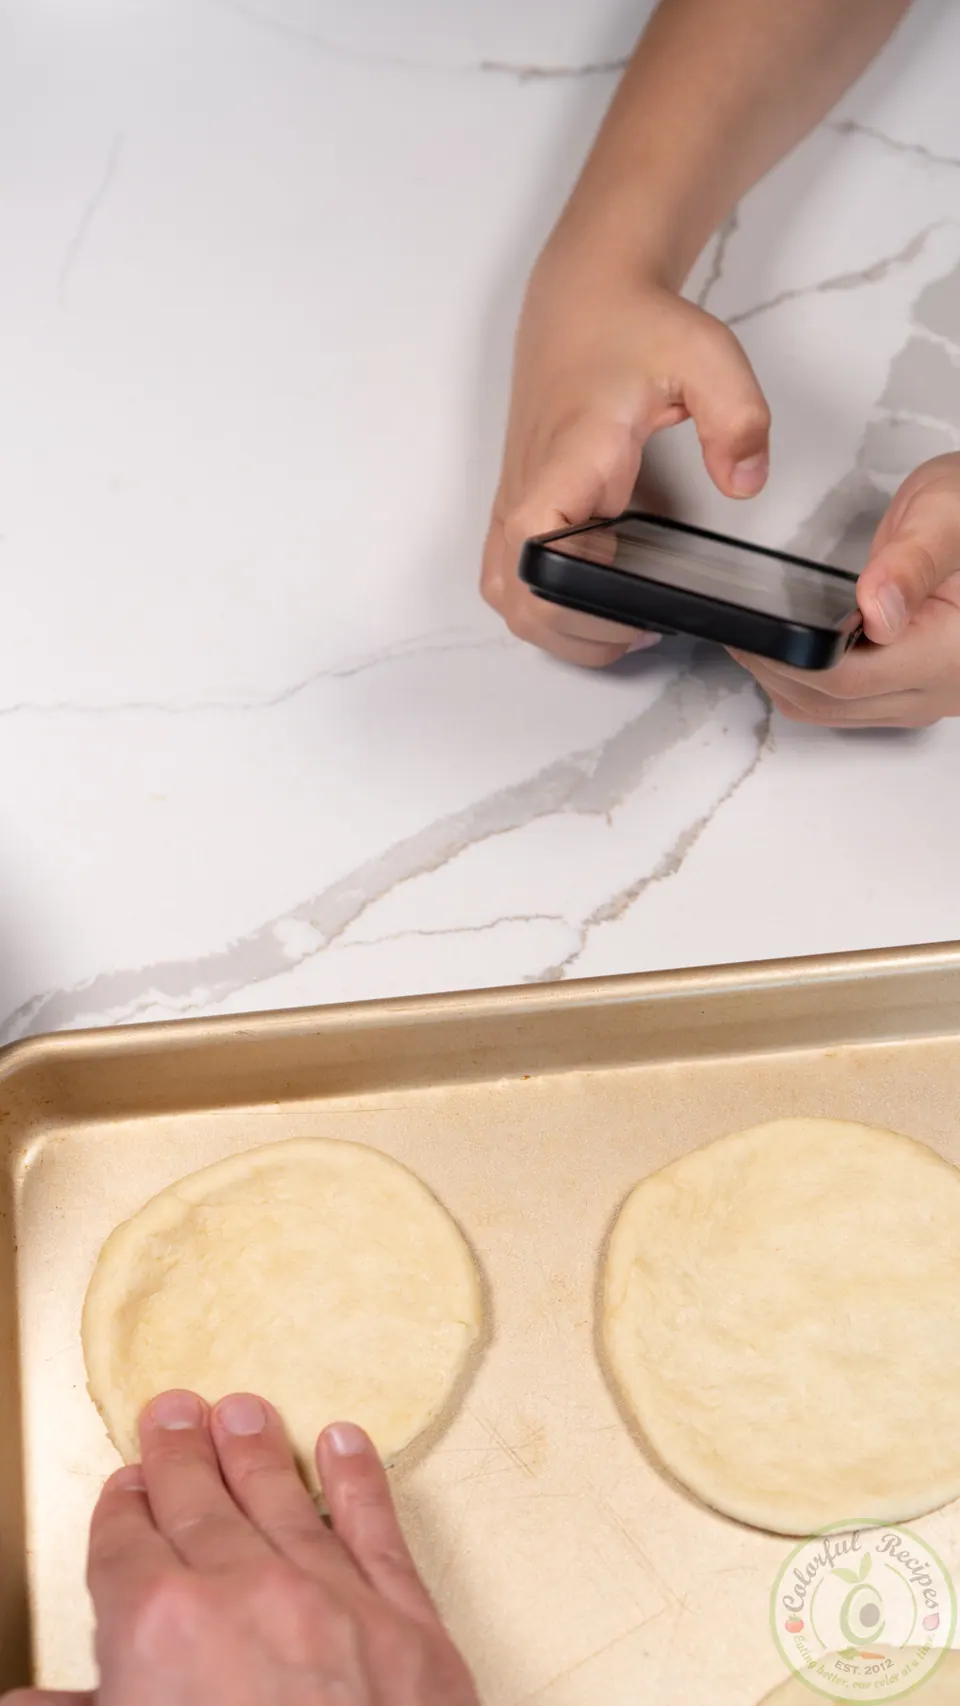
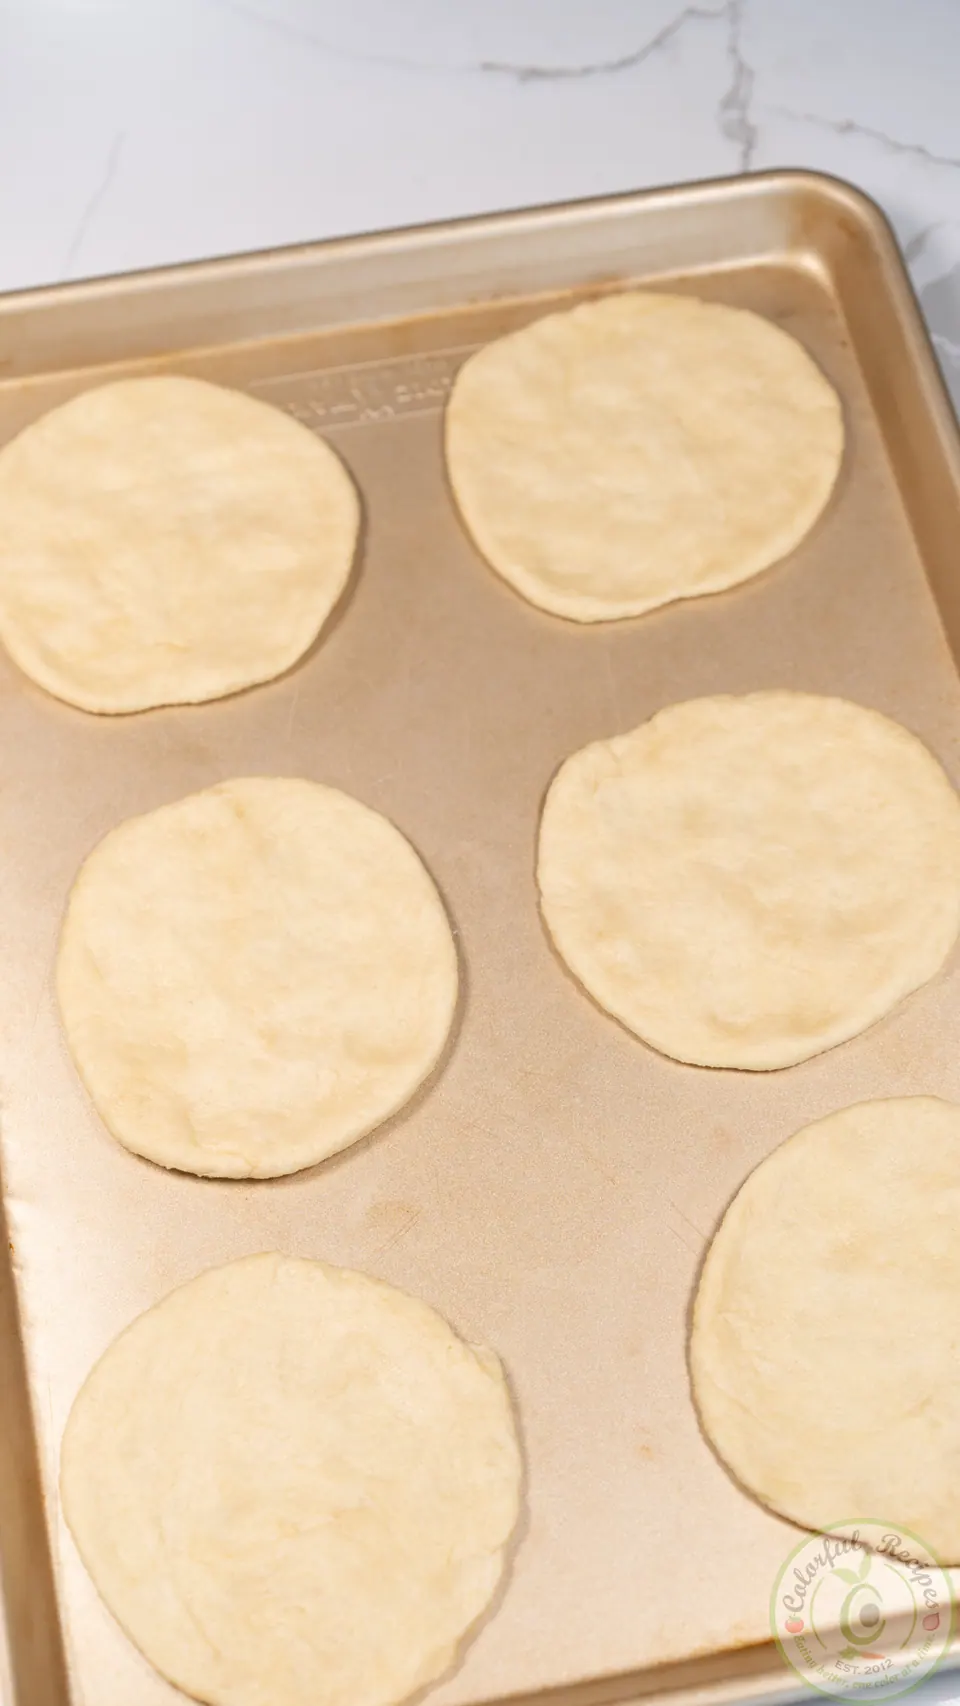
Press down on the balls by hand, starting at the center, and gently flatten them by moving outwards. No rolling pin needed.
Akkawi Cheese
1
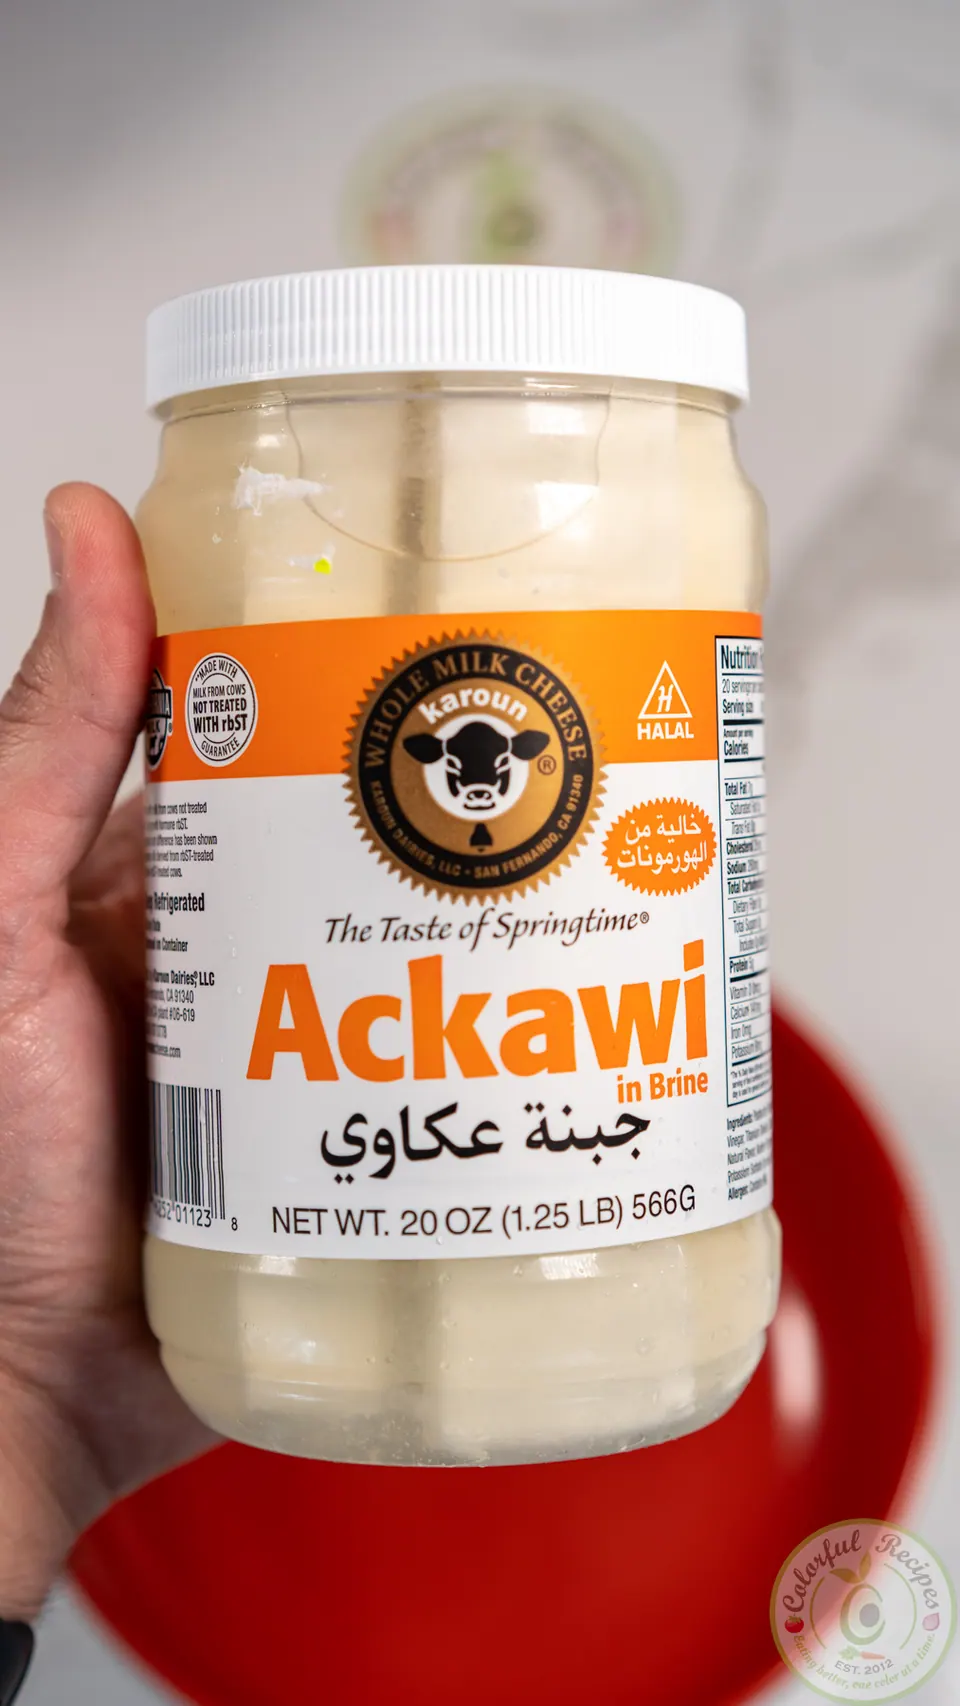
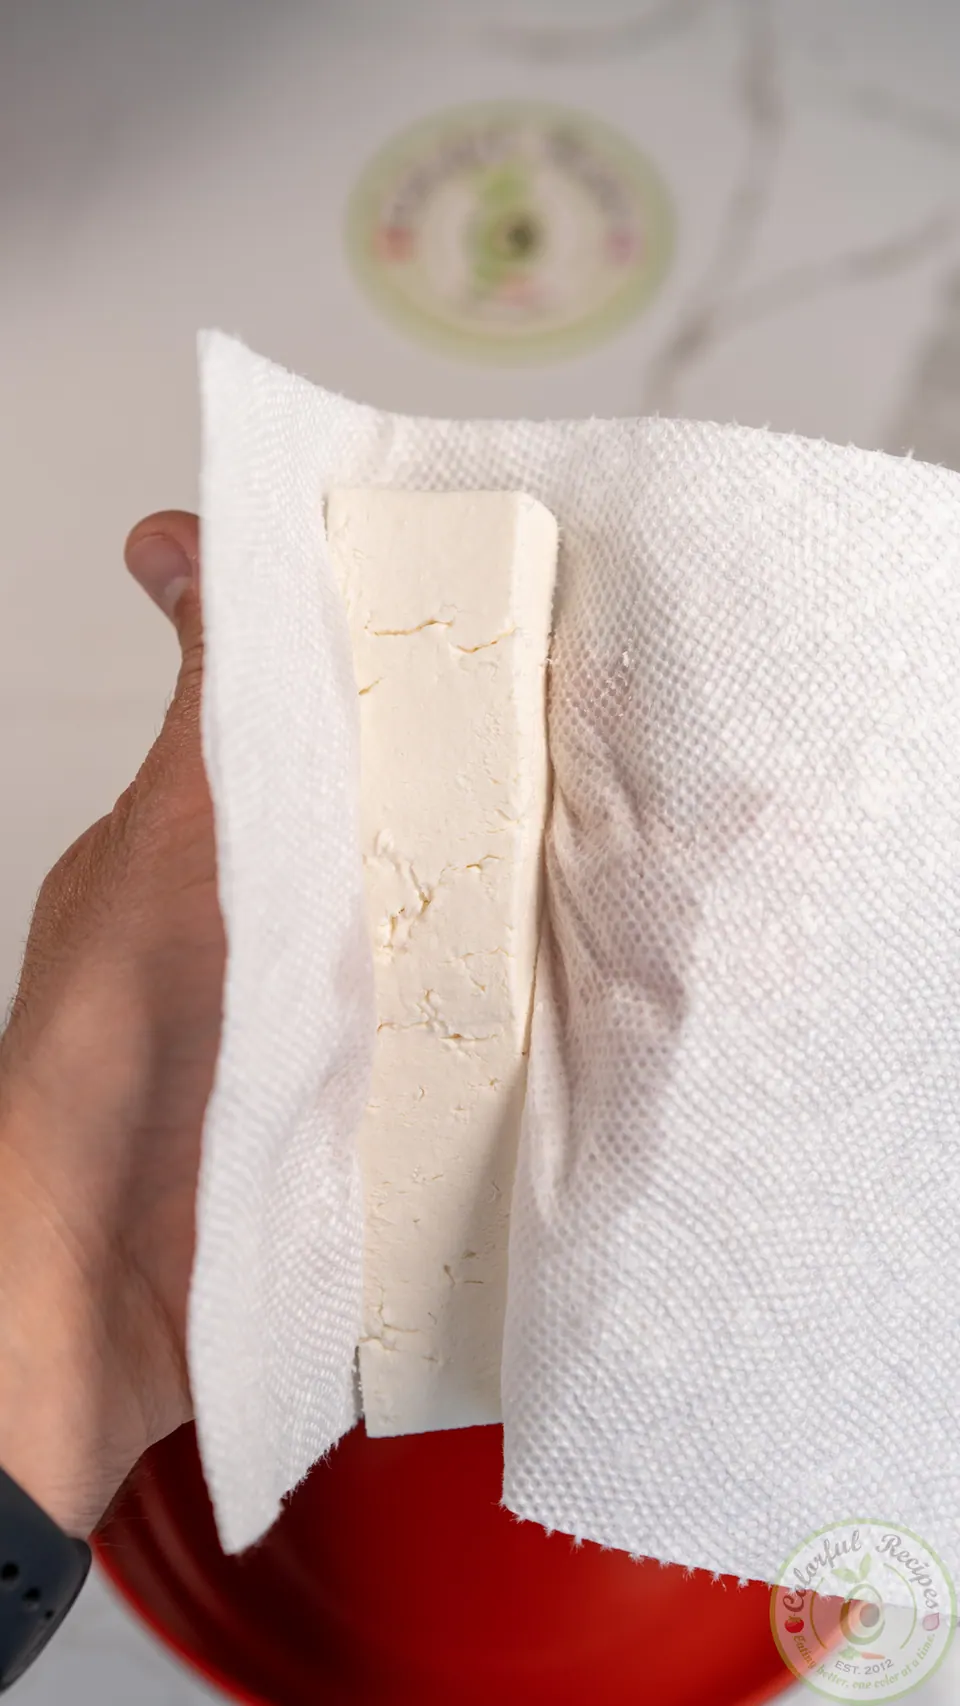
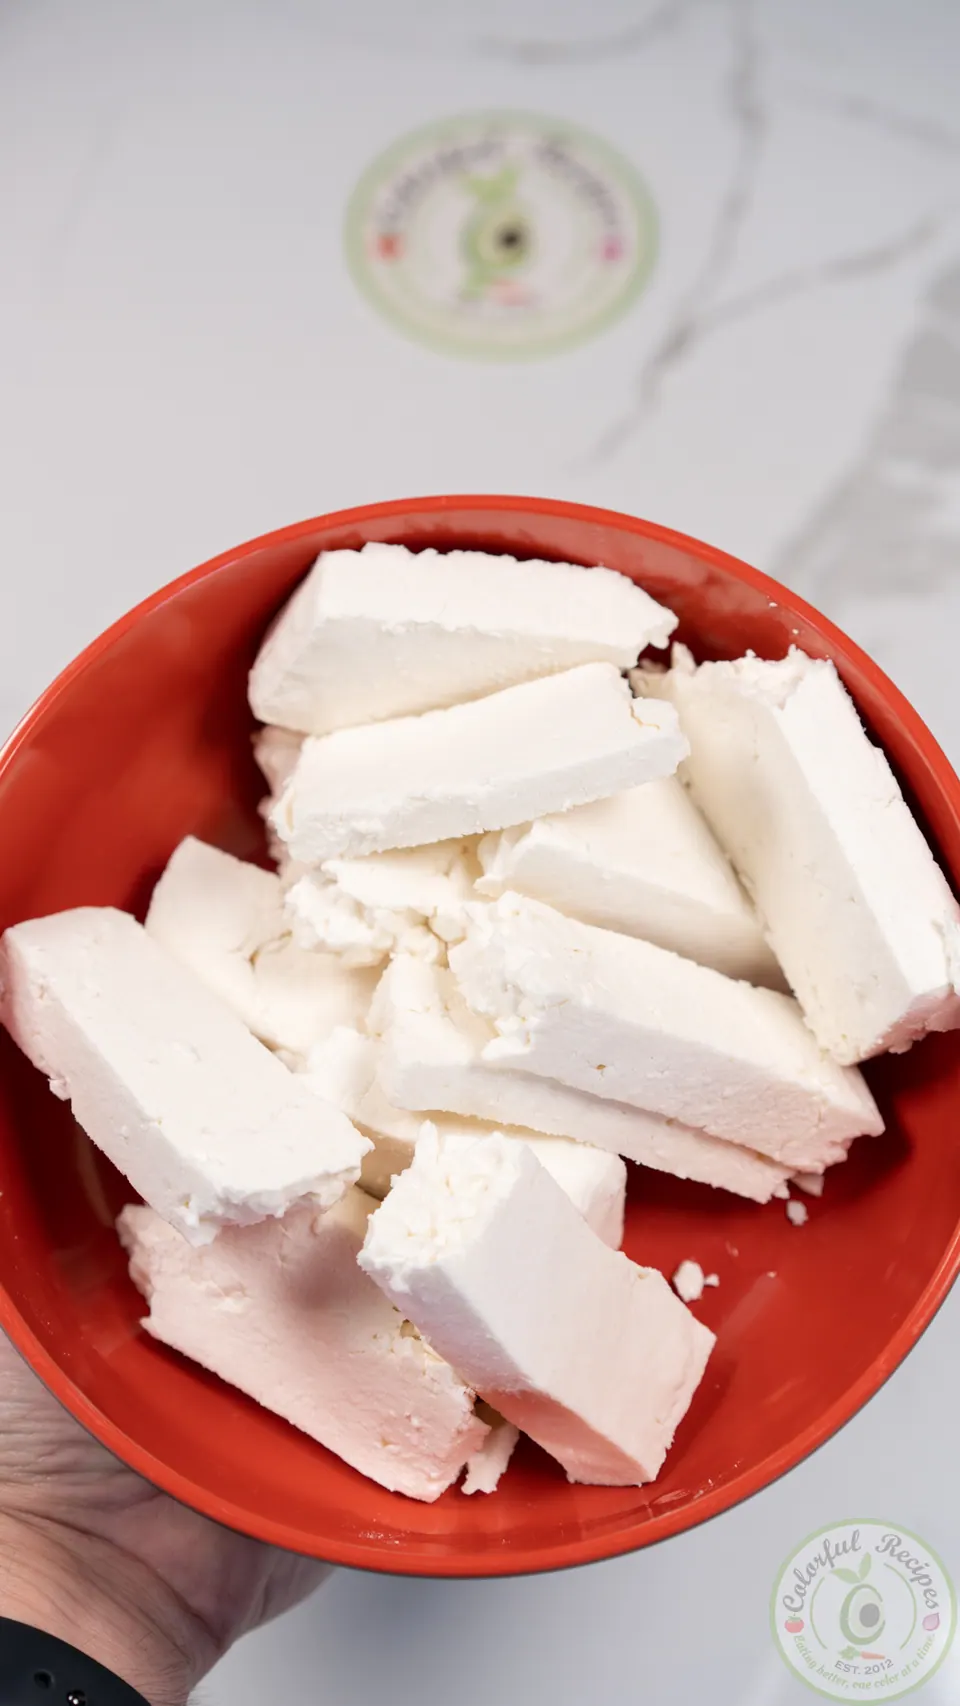
Squeeze and drain the Akkawi cheese if necessary so it’s not too moist.
2
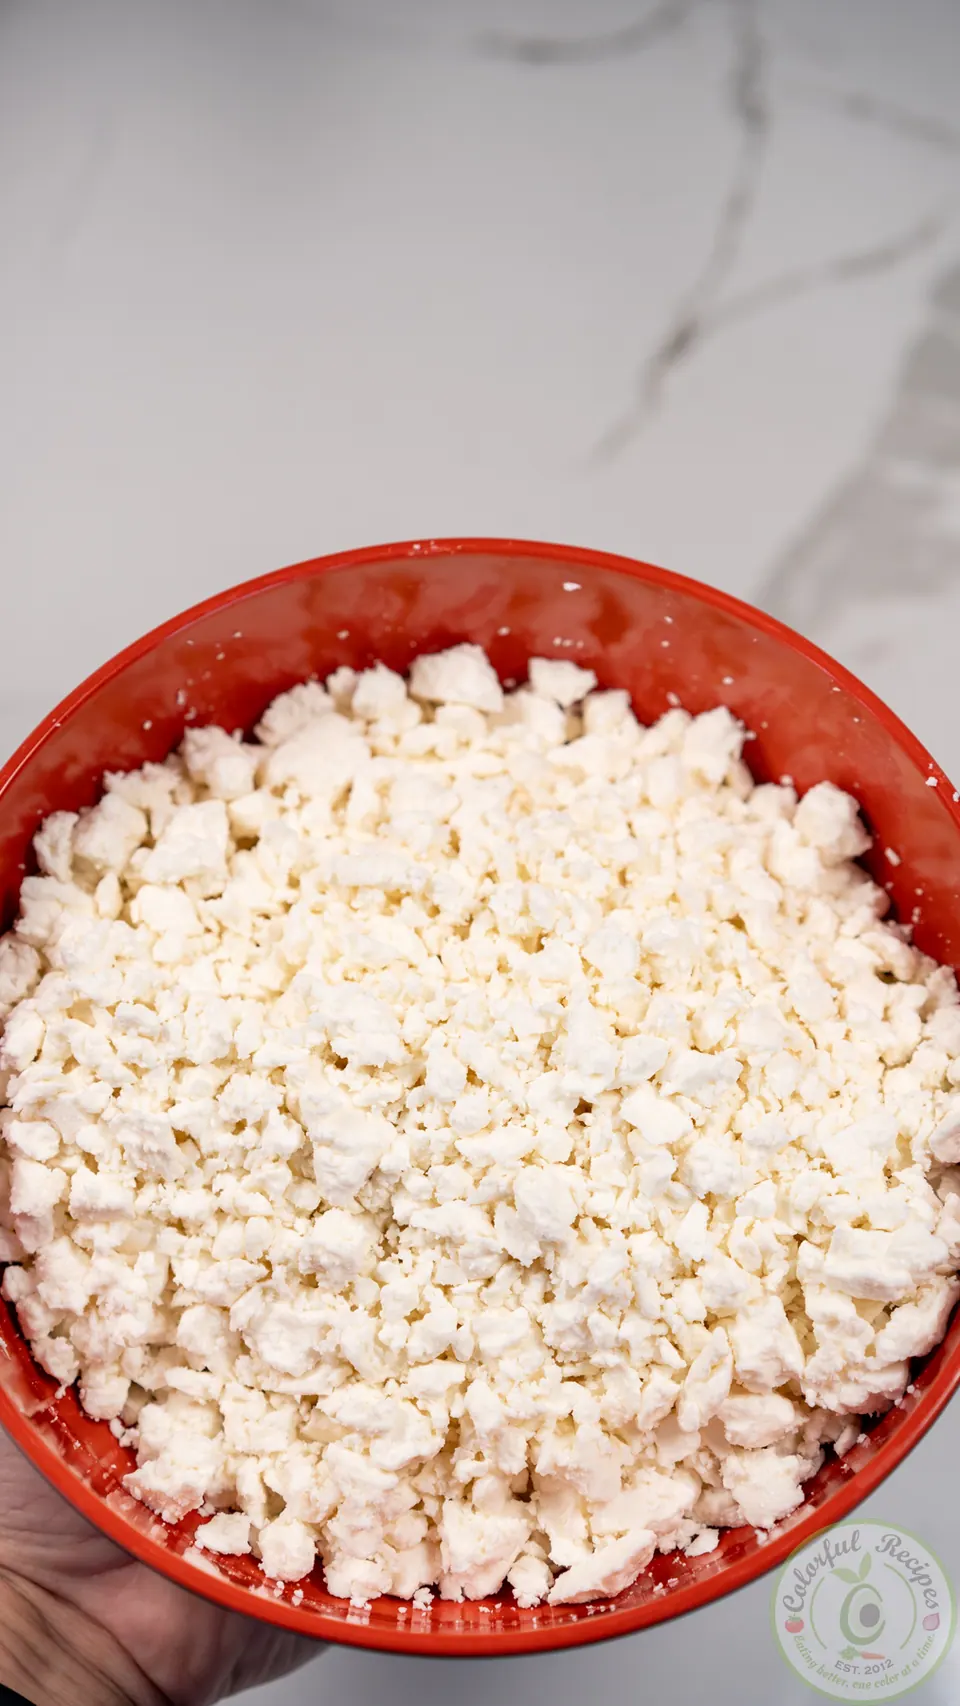
Crumble the Akkawi cheese by hand or shred it.
3
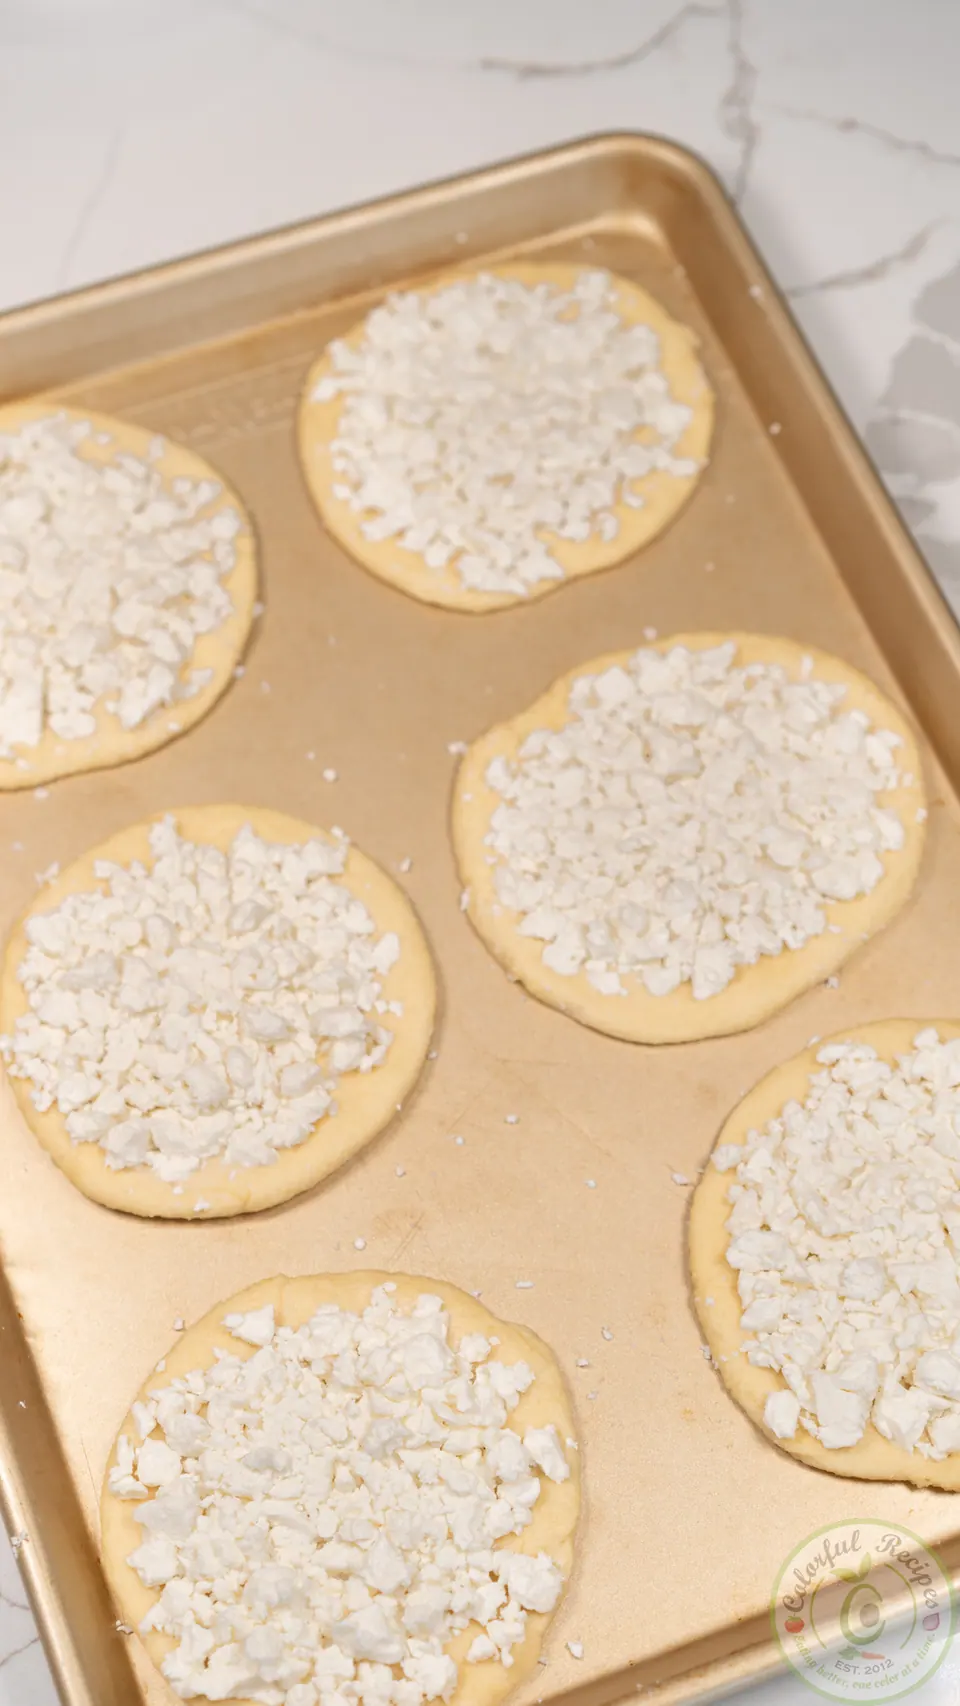
Place 3 tbsp (or to taste) of the cheese on each flattened dough, coming as close as you can to the edges.
4
Press the cheese down with your hand so it sits flat on the dough.
5
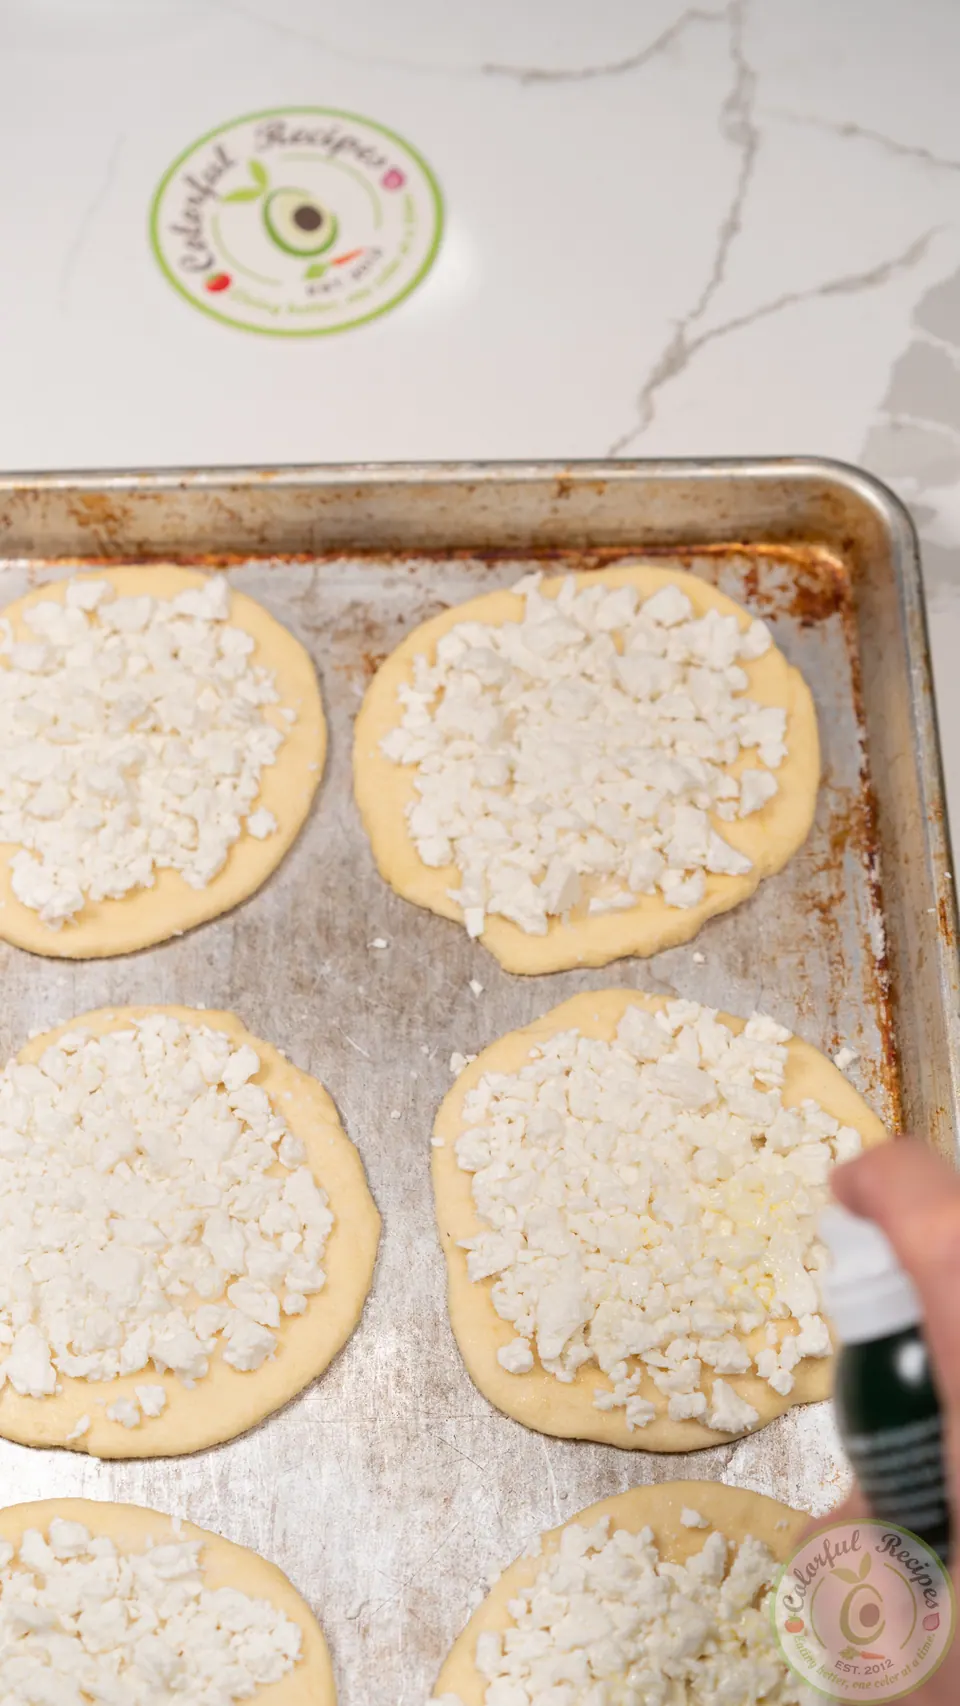
Spray an extremely light amount of olive oil over each one (optional).
6
Bake in the 450°F oven for about , but check on them often.
7
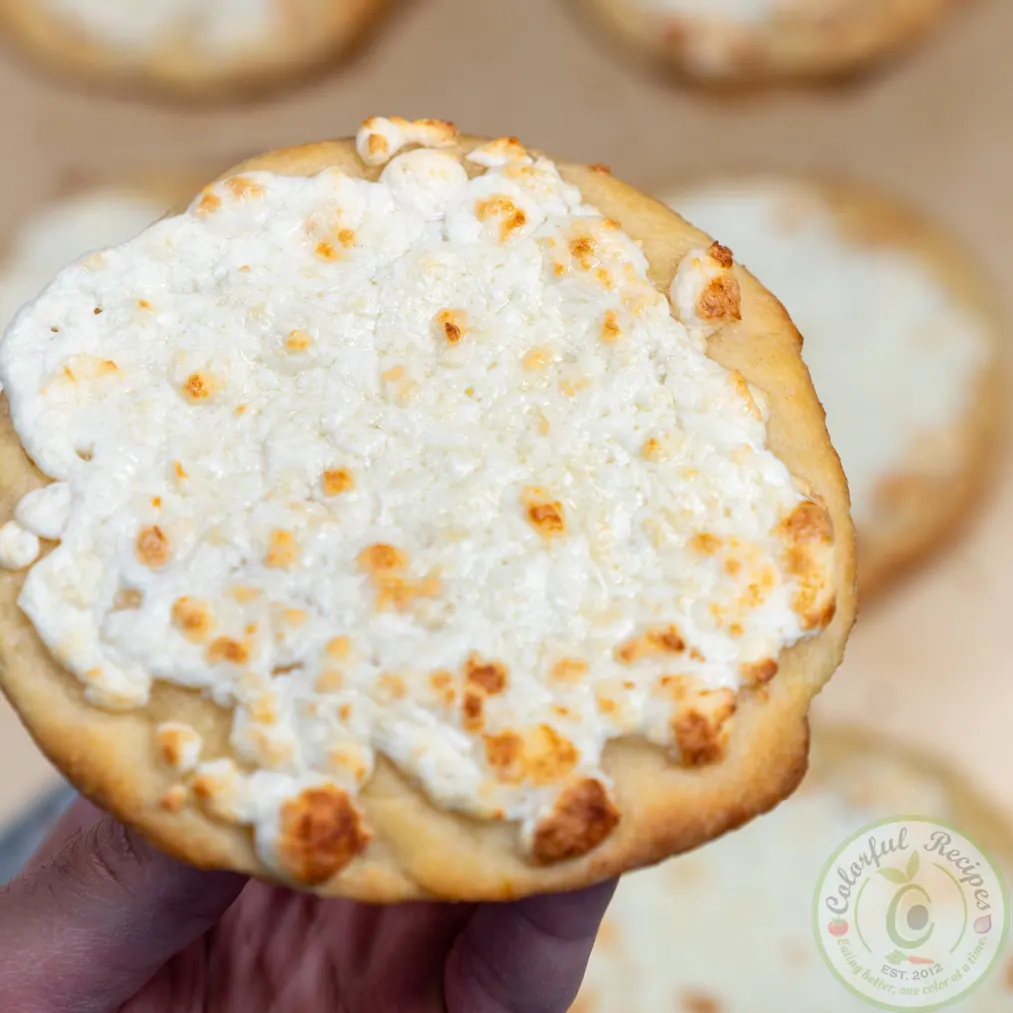
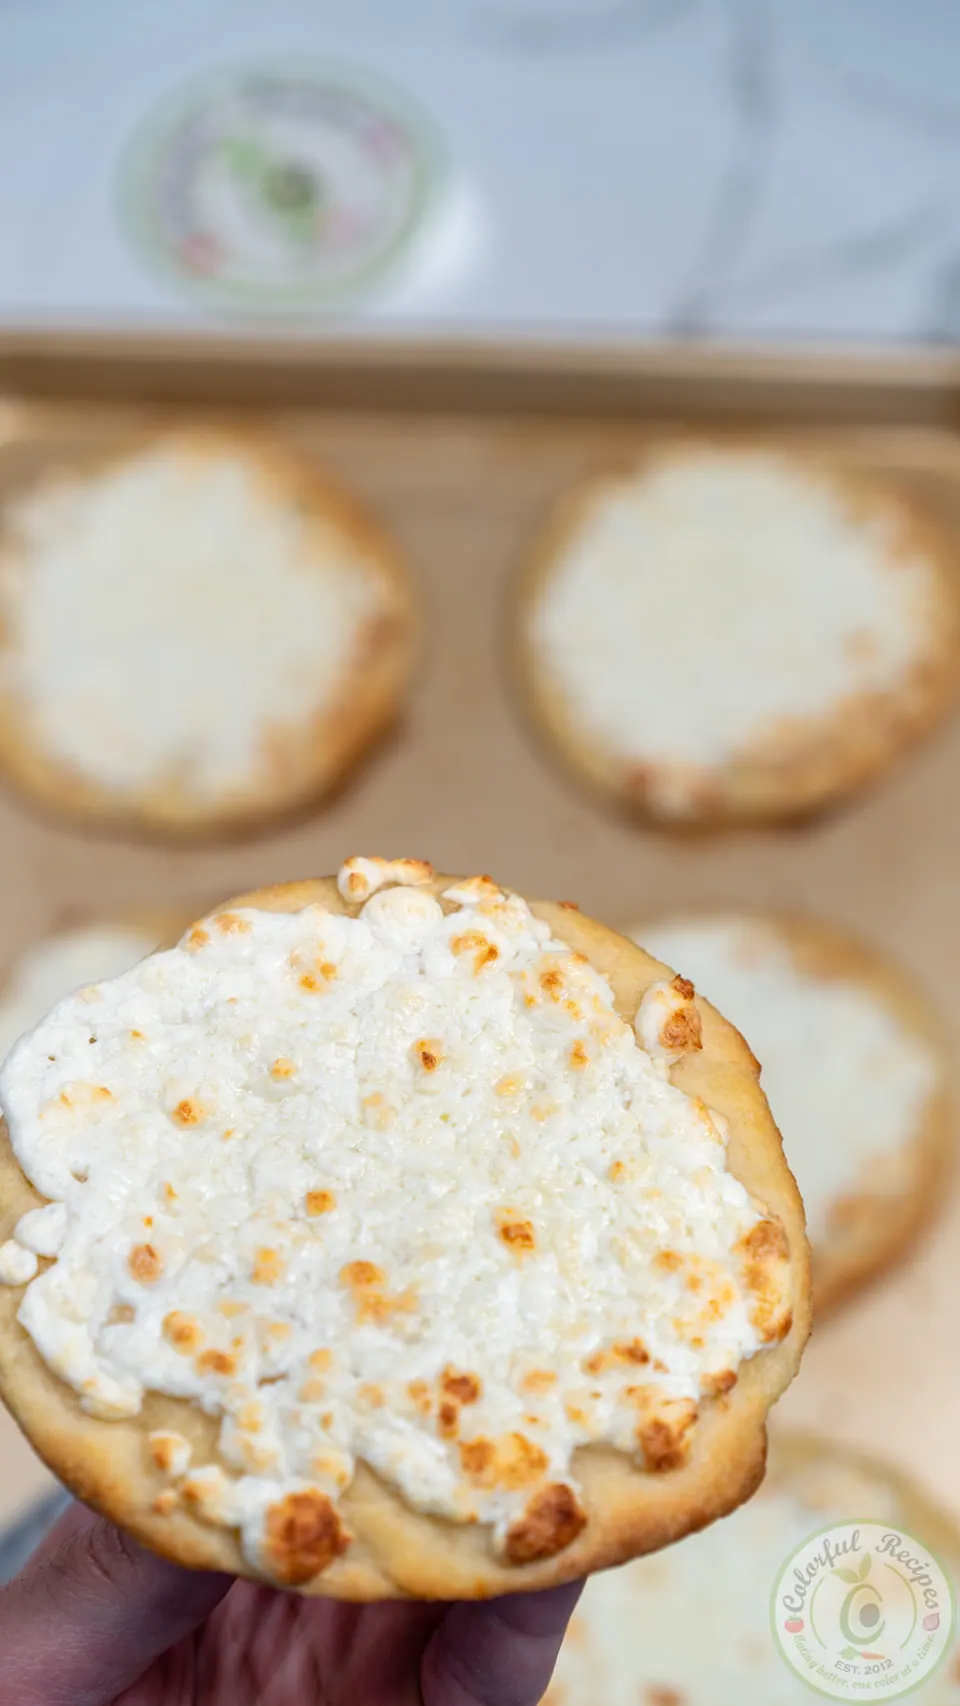
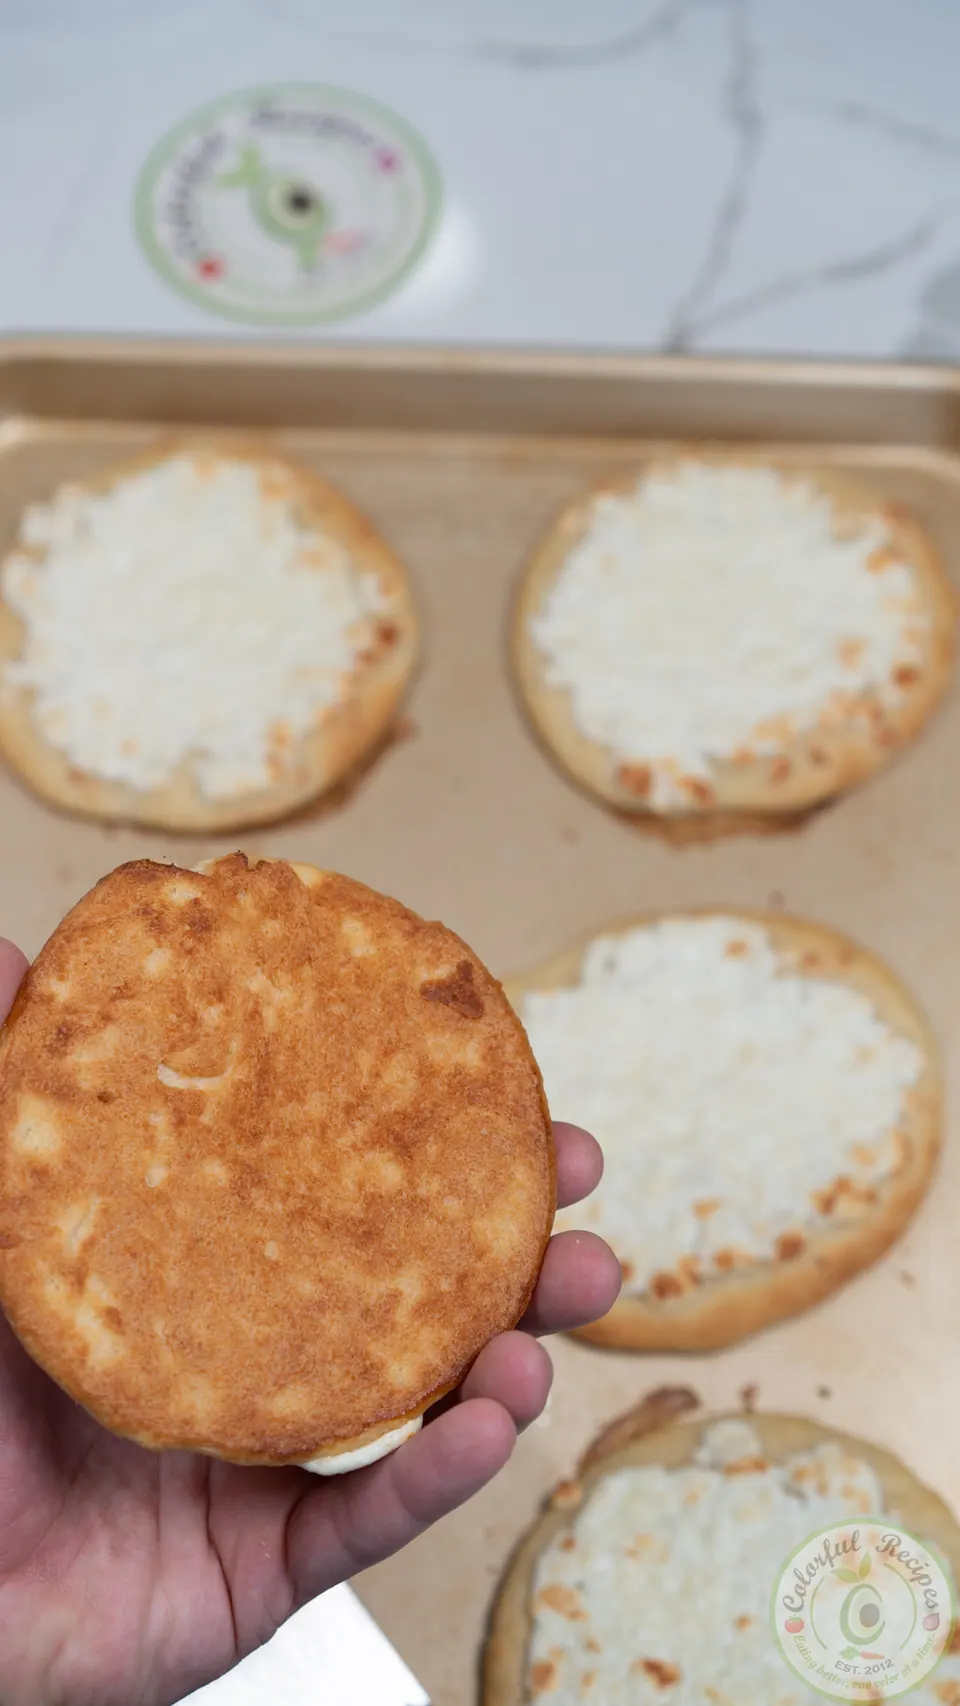
Remove from the oven when the edges start to brown. The bottom should look just like the pictures.
Notes
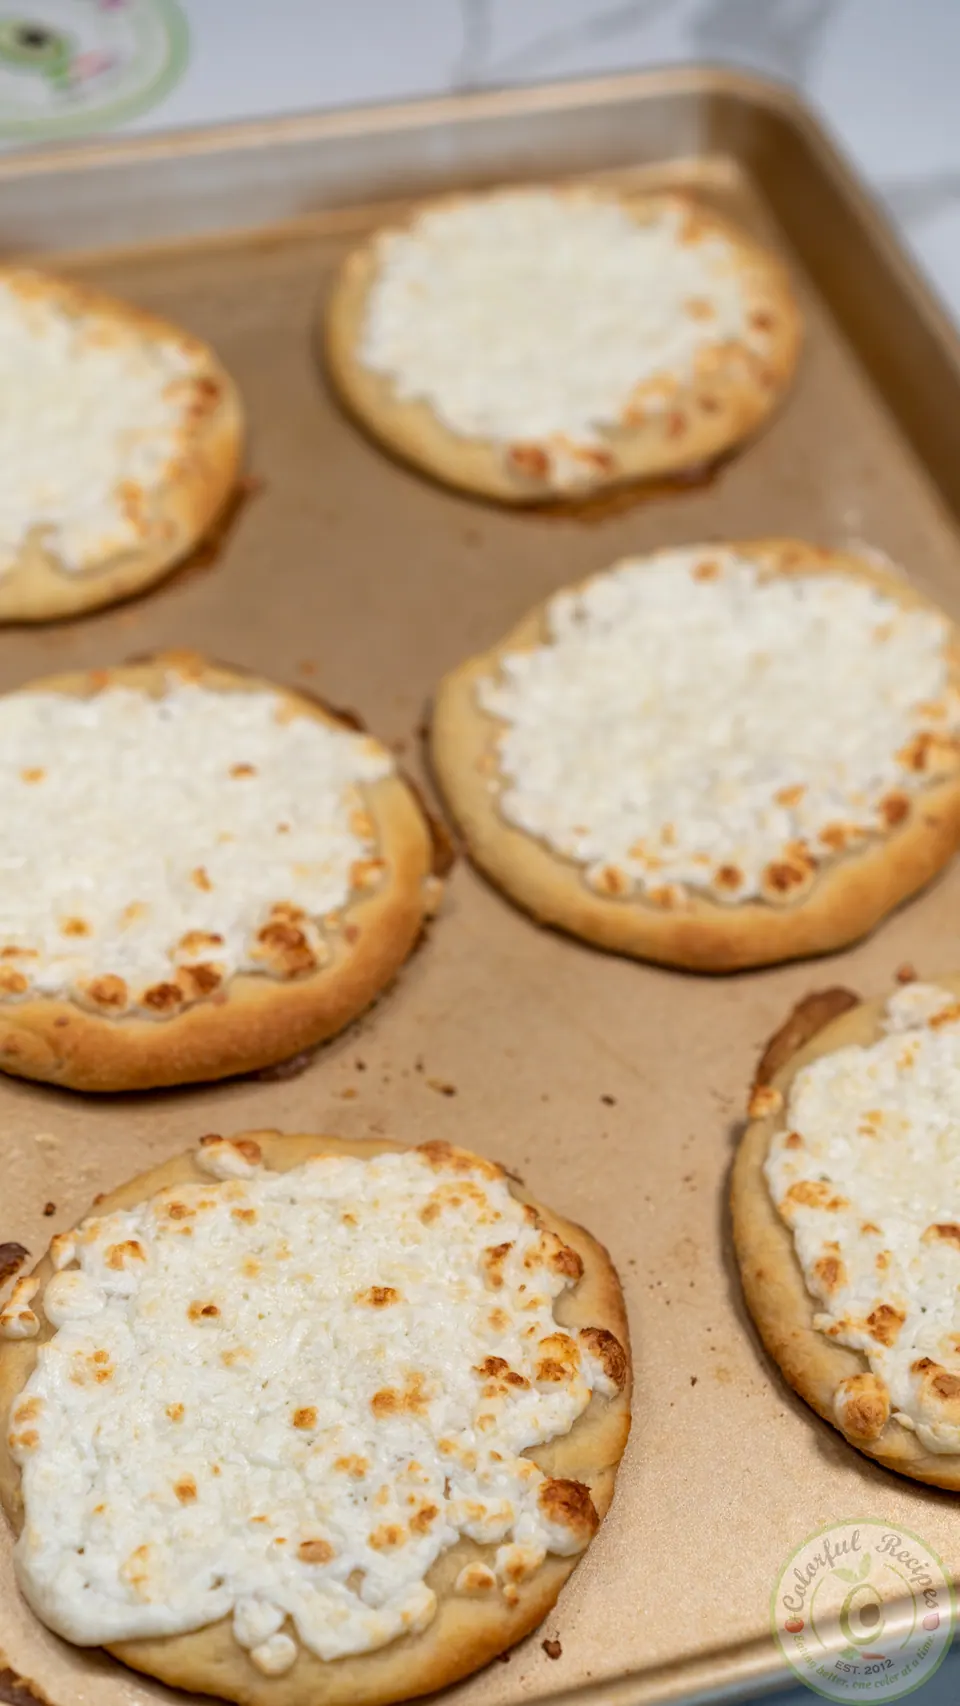
Baking time varies depending on your oven and the moisture content of the cheese. Start with 10 minutes and check on them often. They are done when the crust is golden. The pictures show exactly the end result we’re looking for.
The Akkawi cheese needs to be the kind that crumbles easily. It should not be so firm that it requires slicing with a knife. It should not be very salty either. The extremely salty kind needs desalting by rinsing in water repeatedly, so it is best avoided.
You can reheat leftovers in the microwave for 30 seconds, but this tends to diminish the crunchiness.
Reheating in the oven is best if you have the time. You can do that at 170°F for 10 minutes.
850 g of Akkawi yields 18 small manakish on 3 half-sheet (18″x13″) baking trays.
283 g of Akkawi yields 6 small manakish on 1 half-sheet (18″x13″) baking tray.
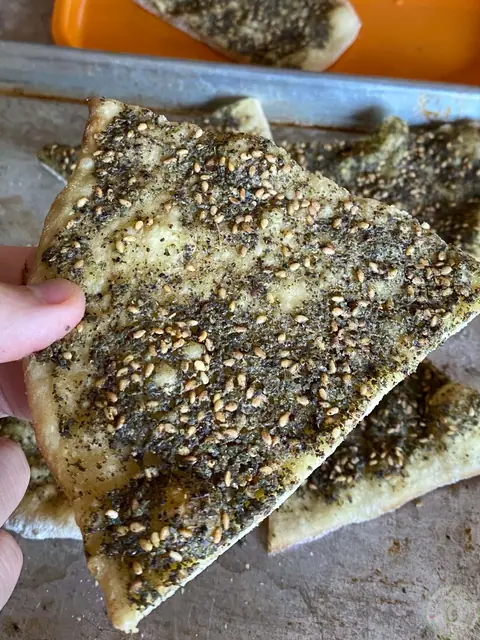
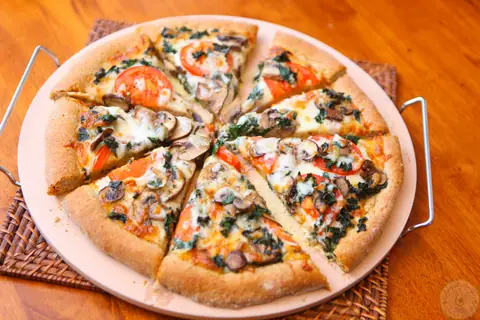
We usually make 6 cheese, 6 za’atar and 6 pizza manakish, or something else like Lahm Bi Ajeen.
Nutrition Facts
18 servings per recipe
Serving size1 small pizza dough only
Amount per servingCalories
188
% Daily Value*
Total Fat 8g10%
Saturated Fat 1g5%
Cholesterol 51mg17%
Sodium 213mg9%
Total Carbohydrate 22g8%
Dietary Fiber 1g4%
Total Sugars 2g
Protein 5g10%
* The % Daily Value tells you how much a nutrient in a serving contributes to a daily diet. 2,000 calories a day is used for general nutrition advice.
Macro mix
188cal
11% Protein 5g
49% Carbs 22g
40% Fat 8g
Protein score
2.7g protein per 100 calories
TreatBalancedHighPowerhouse
Treat yourself
Nutrition is an estimate per serving carried over from our original recipe card and will vary with brands and portions. Use it as a guide, not medical advice.
Small Cheese ManakishScreen stays on
Dough Prep
Step 1 of 27
In a large bowl, whisk the flour, semolina, salt, sugar and instant yeast by hand until fully incorporated.
You'll need
3 cupsall-purpose flour
1 cupfine semolina flour
1 packetinstant yeast
1½ tspsalt
1 tbspgranulated sugar
Dough Prep
Step 2 of 27
Warm the milk to about 100°F. This usually takes 60-90 seconds in a microwave. Make sure it’s not too hot, or it will kill the yeast.
You'll need
1¼ cupswarm milk
Dough Prep
Step 3 of 27
Add the oil to the milk and give it a quick stir.
You'll need
½ cupvegetable oil
Dough Prep
Step 4 of 27
Make a small well in the center of the dry ingredients and pour in the milk/oil mixture.
Dough Prep
Step 5 of 27
Give the egg a quick whisk with a fork and add it over the milk/oil.
You'll need
1 largeegg
Dough Prep
Step 6 of 27
Mix everything gently with a spatula, starting from the center of the well and gradually moving outwards to slowly draw in the dry ingredients.
Dough Prep
Step 7 of 27
As you mix, press down with the spatula to help the ingredients bond together. Keep using the spatula until the ingredients are well incorporated and not too sticky.
Dough Prep
Step 8 of 27
Knead the dough with your knuckles for about .
Dough Prep
Step 9 of 27
Form the dough into a round ball.
Dough Prep
Step 10 of 27
Oil the inside of the bowl (or another bowl) and place the dough in it.
Dough Prep
Step 11 of 27
Cover and let rise for about , or until it doubles in size.
Baking prep
Step 12 of 27
Prepare 3 half-sheet (18″x13″) baking trays and 3 kitchen towels.
Baking prep
Step 13 of 27
Weigh the dough. It should be about 1150 grams (more or less). Divide the dough into 18 equally sized portions weighing about 60-65 grams each.
Baking prep
Step 14 of 27
Form each portion into a round ball and place 6 of them on a half-sheet baking tray. No oiling or parchment paper needed.
Baking prep
Step 15 of 27
Cover the entire first baking sheet with a kitchen towel and let rest for .
Baking prep
Step 16 of 27
Repeat the process for the second baking sheet and cover.
Baking prep
Step 17 of 27
Repeat the process for the third baking sheet and cover.
Baking prep
Step 18 of 27
Now it’s time to prepare the cheese (see below).
Baking prep
Step 19 of 27
Uncover the first baking sheet. Leave the others covered until you place the first one in the oven.
Baking prep
Step 20 of 27
Press down on the balls by hand, starting at the center, and gently flatten them by moving outwards. No rolling pin needed.
Akkawi Cheese
Step 21 of 27
Squeeze and drain the Akkawi cheese if necessary so it’s not too moist.
You'll need
850 gAkkawi cheese, for 18 small manakish (see notes below for more details)
Akkawi Cheese
Step 22 of 27
Crumble the Akkawi cheese by hand or shred it.
Akkawi Cheese
Step 23 of 27
Place 3 tbsp (or to taste) of the cheese on each flattened dough, coming as close as you can to the edges.
Akkawi Cheese
Step 24 of 27
Press the cheese down with your hand so it sits flat on the dough.
Akkawi Cheese
Step 25 of 27
Spray an extremely light amount of olive oil over each one (optional).
Akkawi Cheese
Step 26 of 27
Bake in the 450°F oven for about , but check on them often.
Akkawi Cheese
Step 27 of 27
Remove from the oven when the edges start to brown. The bottom should look just like the pictures.
Behind the recipe
The story, tips & photos
Well, for starters, this crunchy and crusty dough is unlike any pizza dough we’ve ever tried. The credit goes to the combination of all-purpose flour and semolina flour, plus the addition of an egg to the mixture.
Akkawi cheese is by far the best cheese you can use on these oven-baked small manakish.
What is Akkawi cheese?
Akkawi is a smooth-textured, mildly salty white brine cheese. It is commonly produced in the Middle East, notably in Lebanon, Israel, Palestine, Jordan, Syria, Egypt and Cyprus.
Easy manakish dough
Making this dough is so easy, and the result is consistent every single time. You just have to follow the instructions, especially the sequence, to ensure success every time you make it. The dough is so easy to work by hand. I've never used a dough mixer for this recipe.
3 parts flour to 1 part semolina will do the trick. You’re probably wondering if you can skip the semolina. Of course, you can make it with 4 cups of flour. But you didn’t arrive at this recipe looking for shortcuts, did you? Enough said!
Whisk all the dry ingredients by hand, making sure they are fully incorporated.
Add the oil to the warm milk and pour it in.
Whisk an egg and pour it in.
Mix with a spatula until all the ingredients are well incorporated, then knead by hand.
Cover the container tightly and let the dough rise for about 2 hours, or until it doubles in volume.
Shaping and baking small cheese manakish
It’s math time! This is actually important to make sure the recipe yields 18 equally sized small manakish.
Weigh the dough and divide the number by 18. Then weigh each small piece before forming it into a small ball. Do that for 6 balls at first. Place them on a tray, cover and let rest for 10 minutes as you form the remaining ones.
Press down on the balls by hand, starting at the center, and gently flatten them by moving outwards. No rolling pin needed.
Now let’s get cheesy.
It’s important to squeeze the water out of the cheese. You don’t want it to be too moist. Then crumble it by hand.
Place about 3 tbsp of the crumbled cheese on each flattened dough. Press down by hand to further flatten the cheese and stretch the dough a bit more. Spray an extremely light amount of olive oil on top, but this is totally optional.
Bake in a preheated 450°F oven for 10 minutes, but check on them often.
The baking time varies depending on your oven and the moisture content of the cheese.
Start with 10 minutes and check on them often. They are done when the edge and crust are golden. The pictures show exactly the end result we’re looking for.
For presentation, you can place them on a large cheese or charcuterie board along with sides of cucumbers, tomatoes and olives. Forest Decor makes great charcuterie boards.





Questions & comments 1
Leave a commentJust WOW. These look amazing!!!!!!