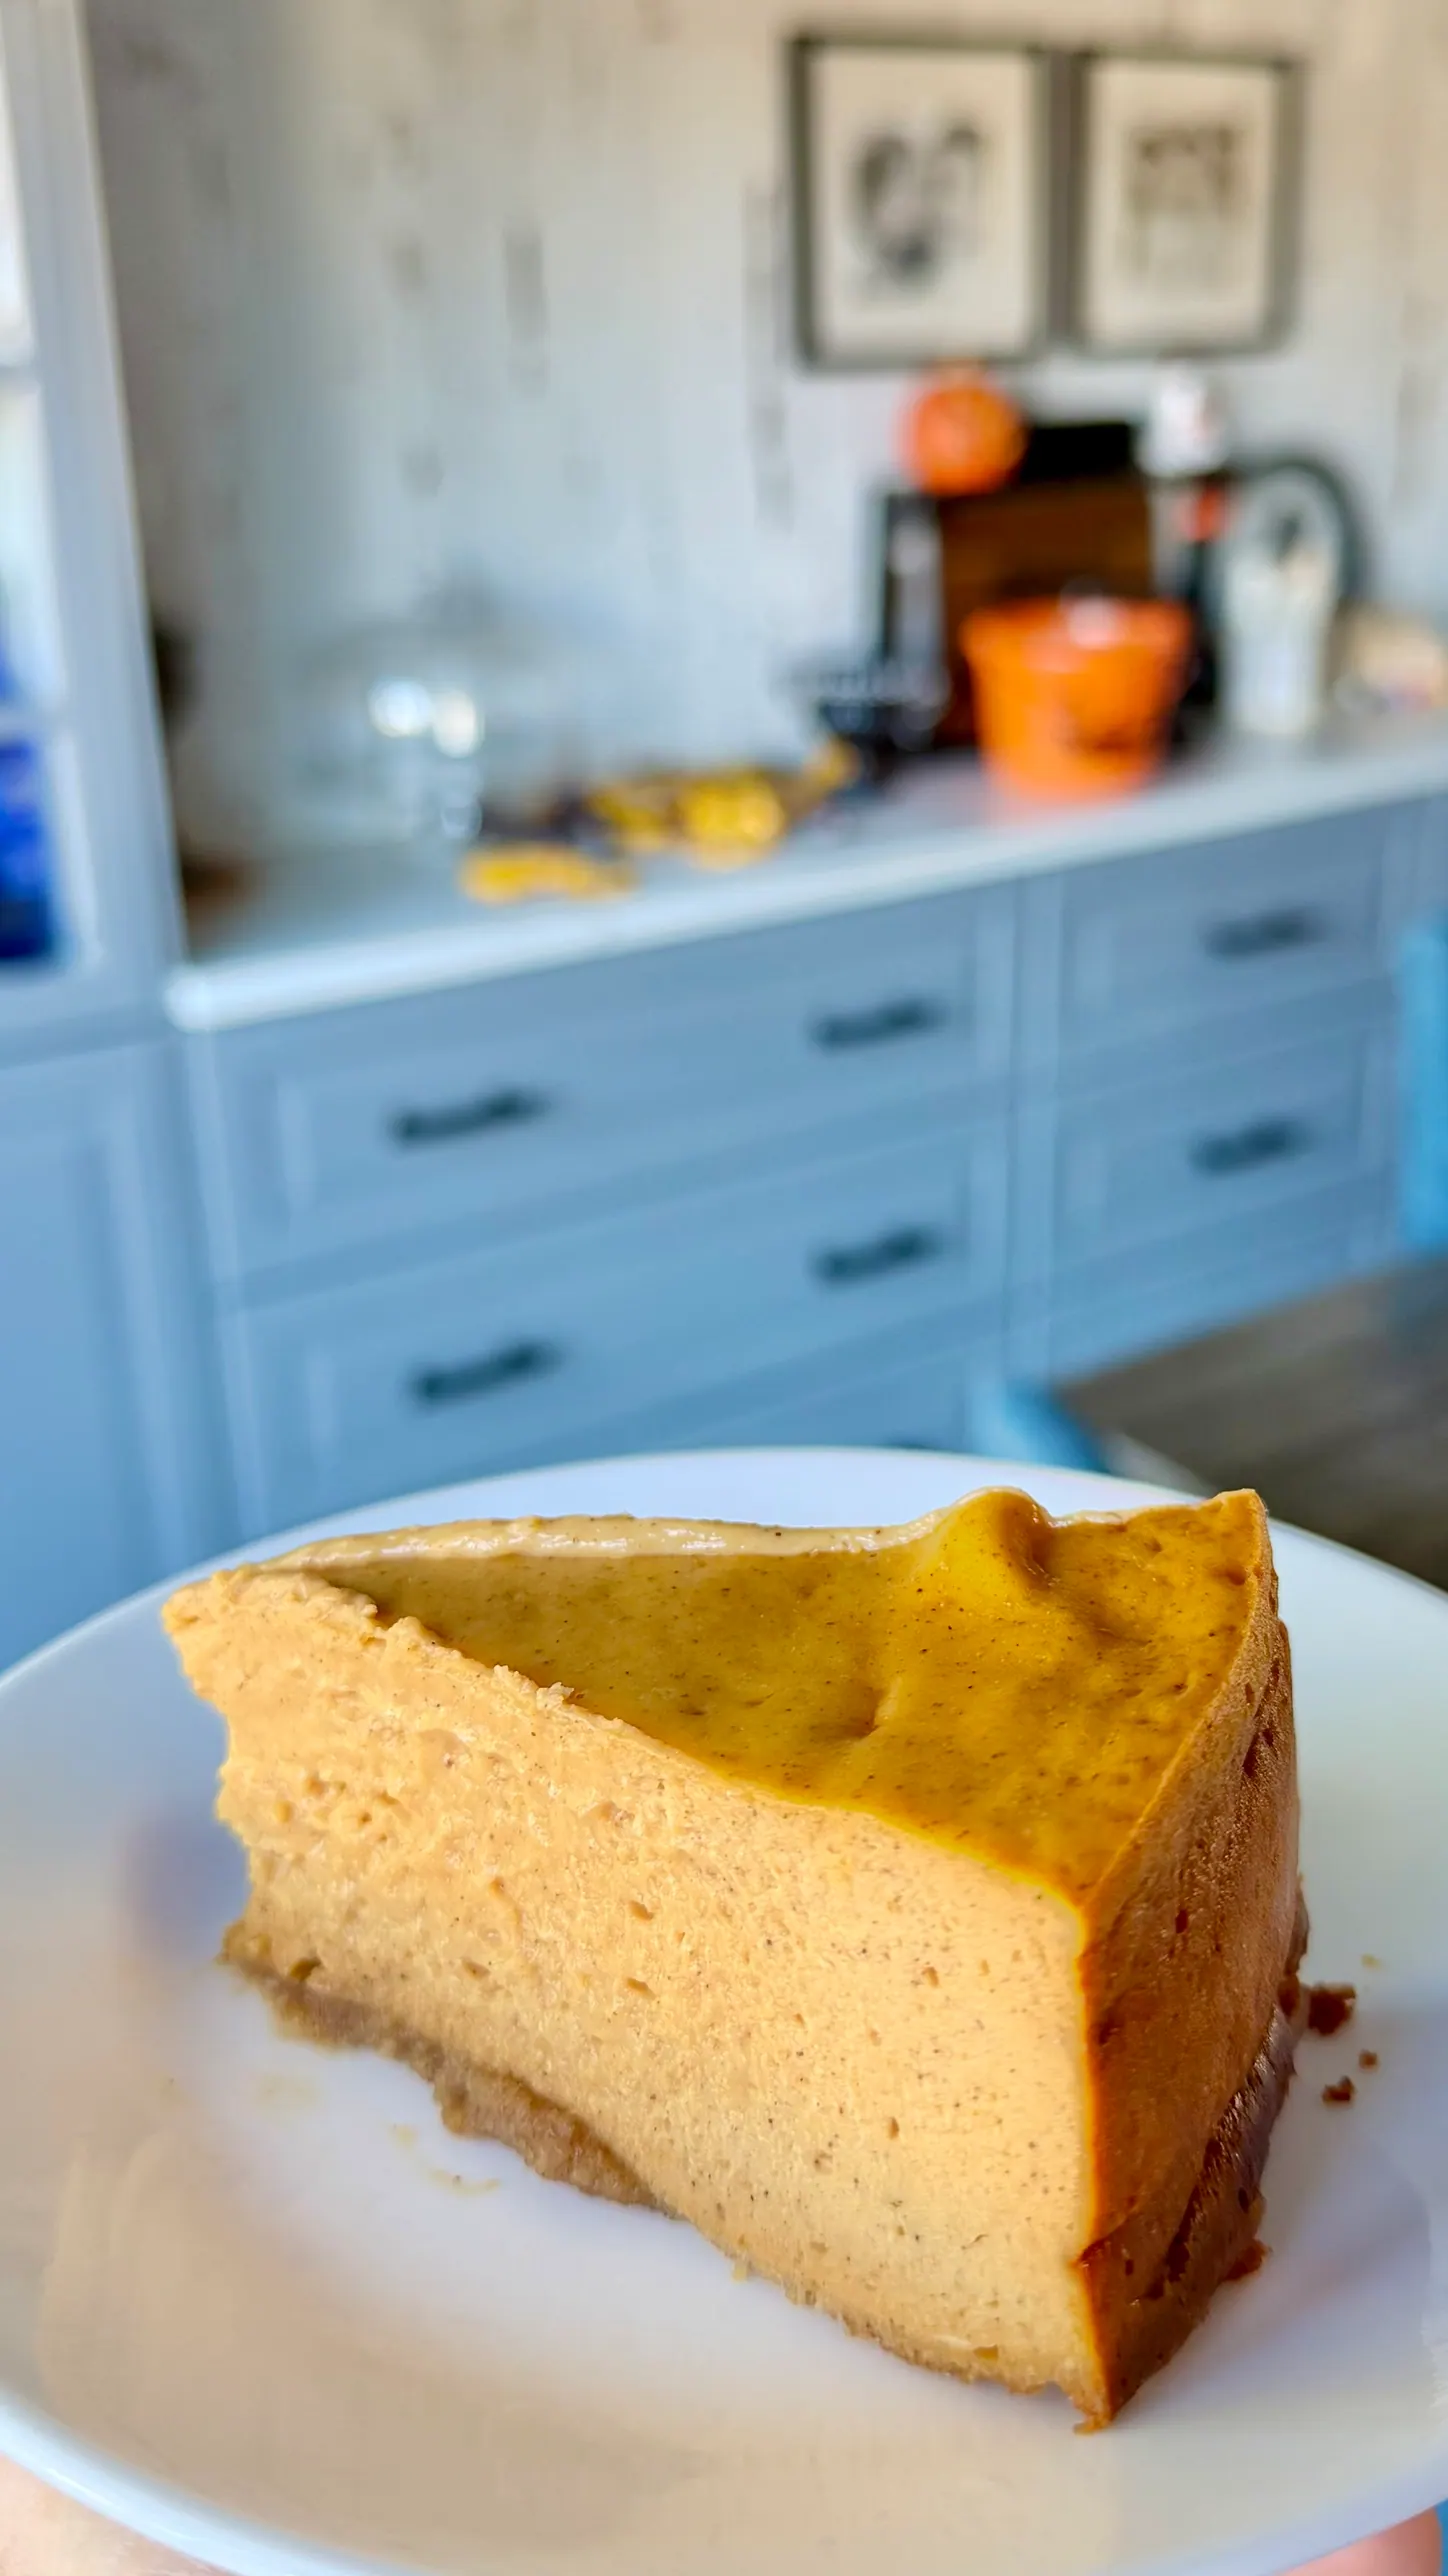
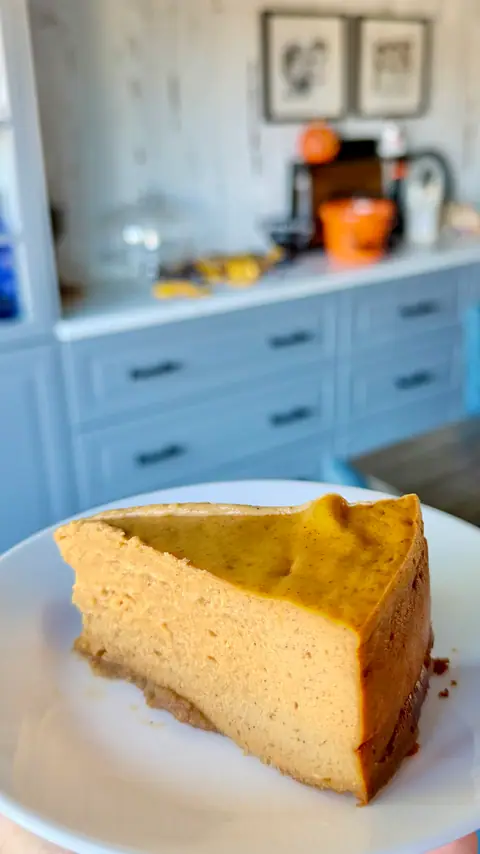
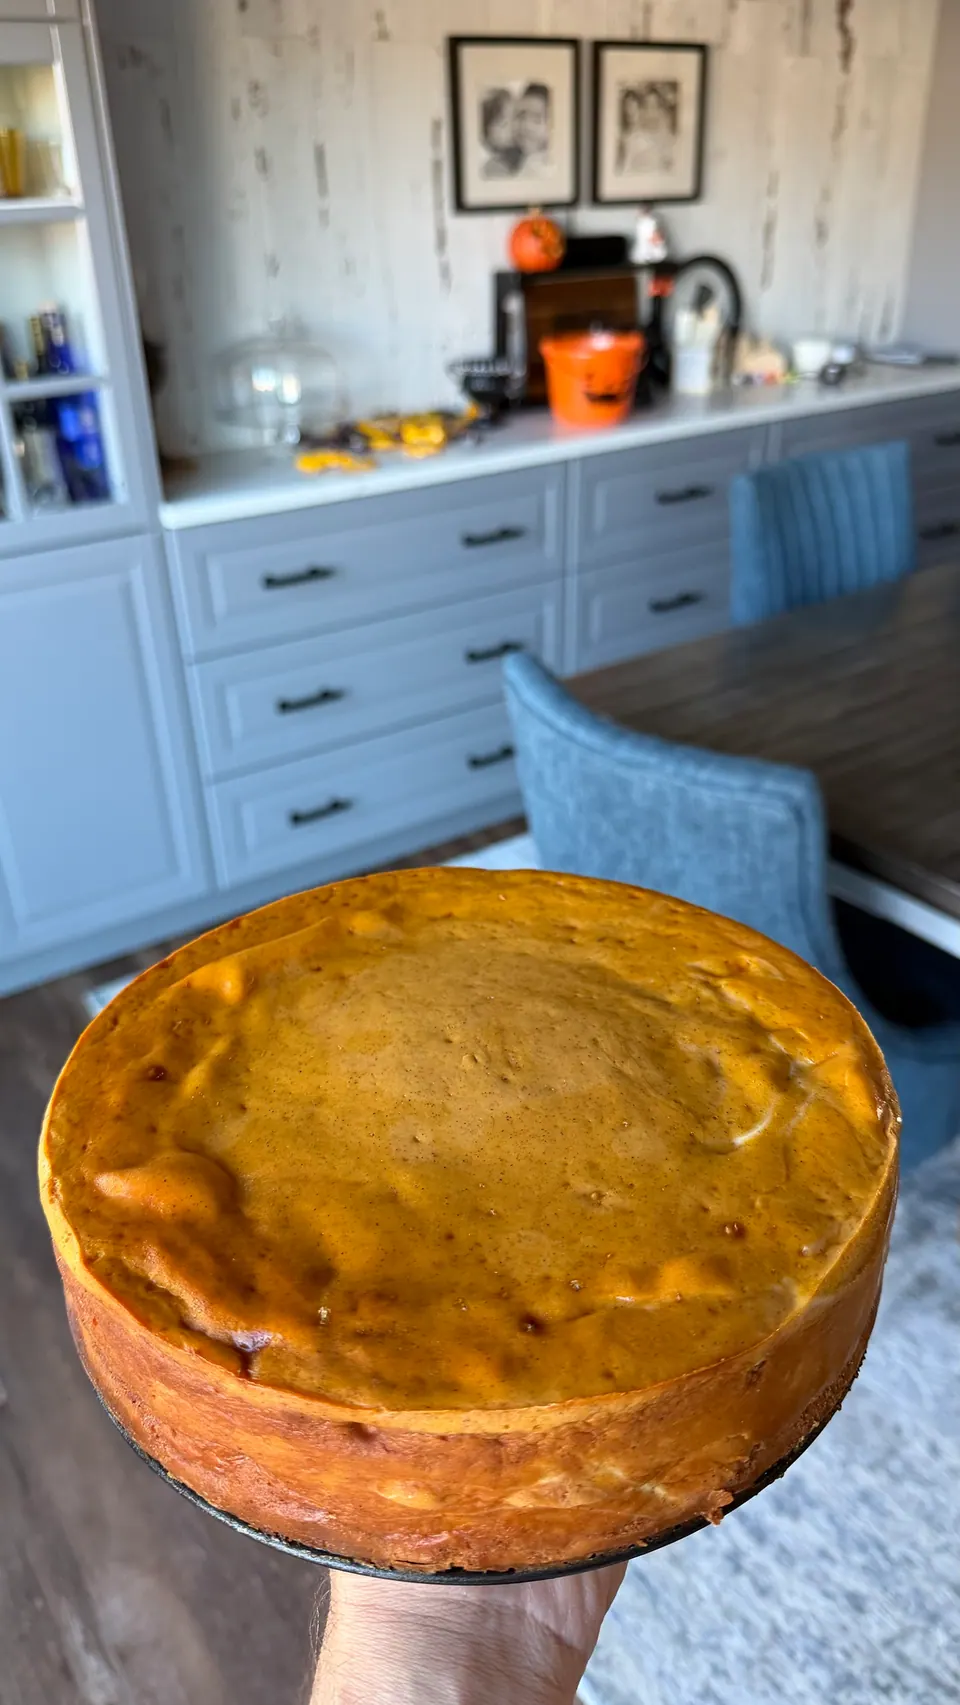
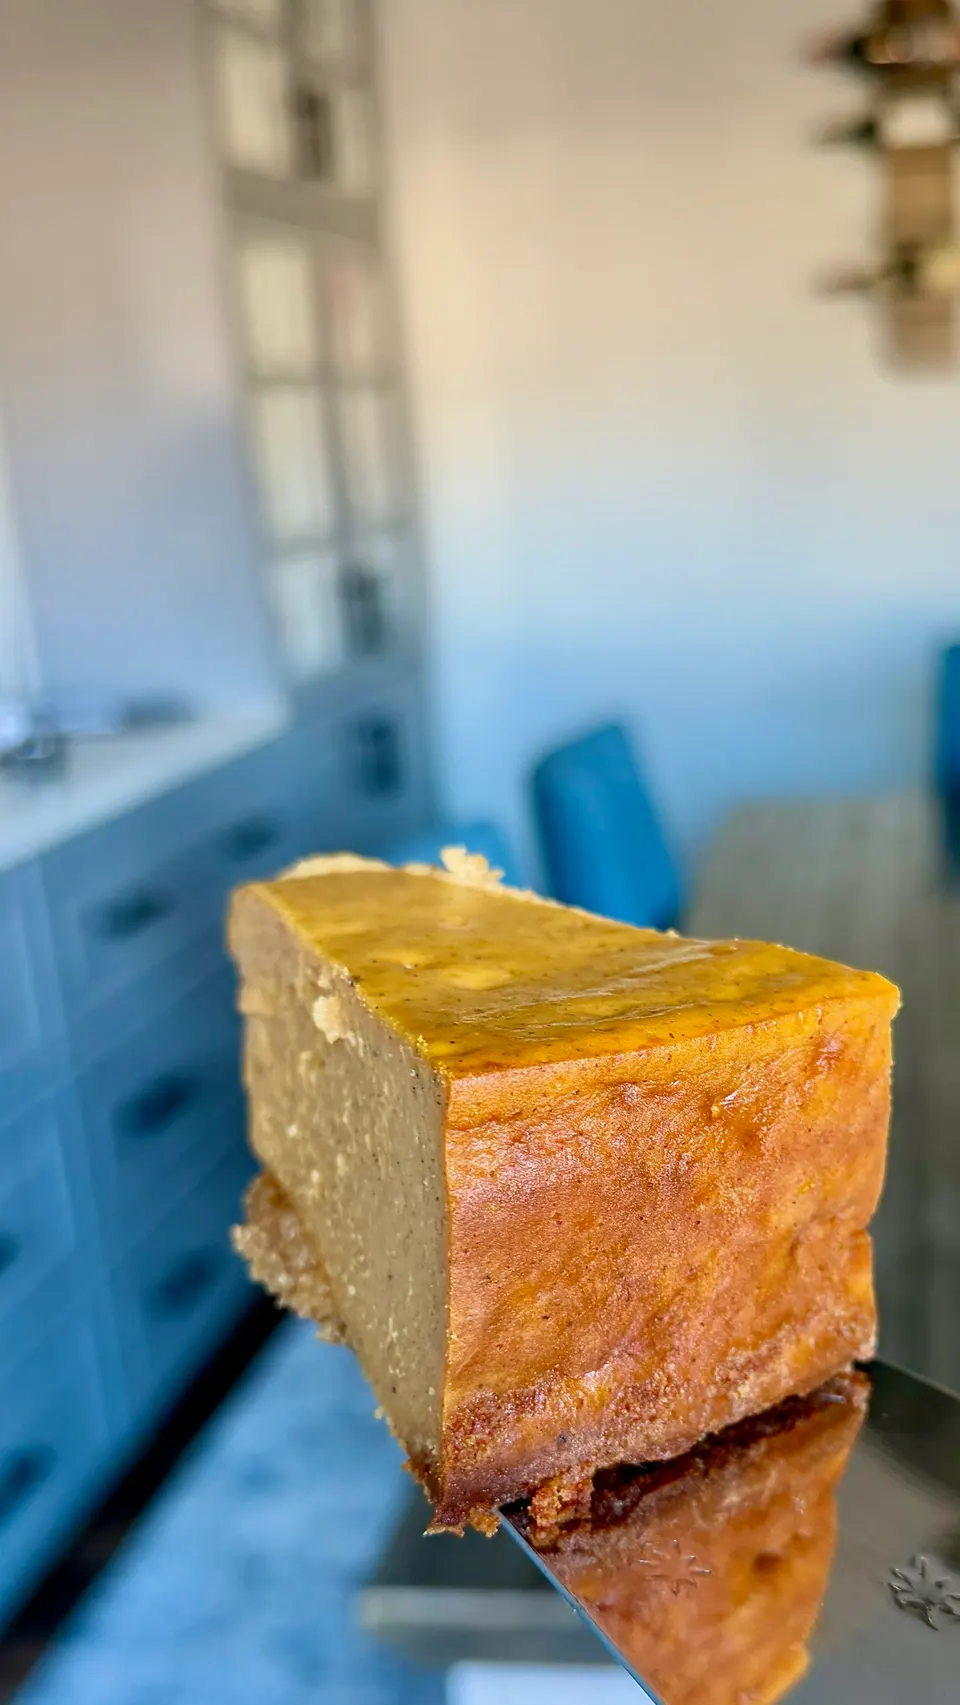
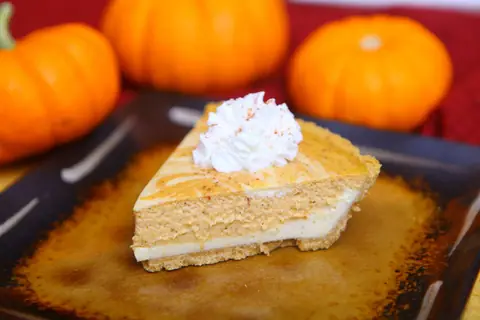
A whole 9-inch high-protein pumpkin pie: creamy cottage cheese pumpkin filling on a crispy almond-protein crust, baked in a springform pan, about 290 calories and 30 g of protein per slice.
This is our high-protein cottage cheese pumpkin pie as one big, sliceable 9-inch pie, made in a springform pan for holiday tables and week-long meal prep. Every slice has about 290 calories and 30 grams of protein, roughly 10 grams of protein for every 100 calories, and it still tastes like the classic pumpkin pie you wait for all year.
Preheat the oven to 300°F (150°C). Lay a 9-inch parchment round in the bottom of a 9-inch springform pan, lock the ring in place and lightly spray both the parchment and the sides with baking spray.
Make and pre-bake the crust
1
In a large bowl, mix the almond flour, 2 scoops of protein powder, sweetener and cinnamon.
2
Stir in the melted ghee until the mixture looks like coarse, wet sand and holds together when pinched (see the video above).
3
Press the crust firmly and evenly into the bottom of the pan.
4
Bake the crust for about , until the edges are just golden.
5
Let the crust cool for while you make the filling. Keep the oven at 300°F.
Blend the filling
1
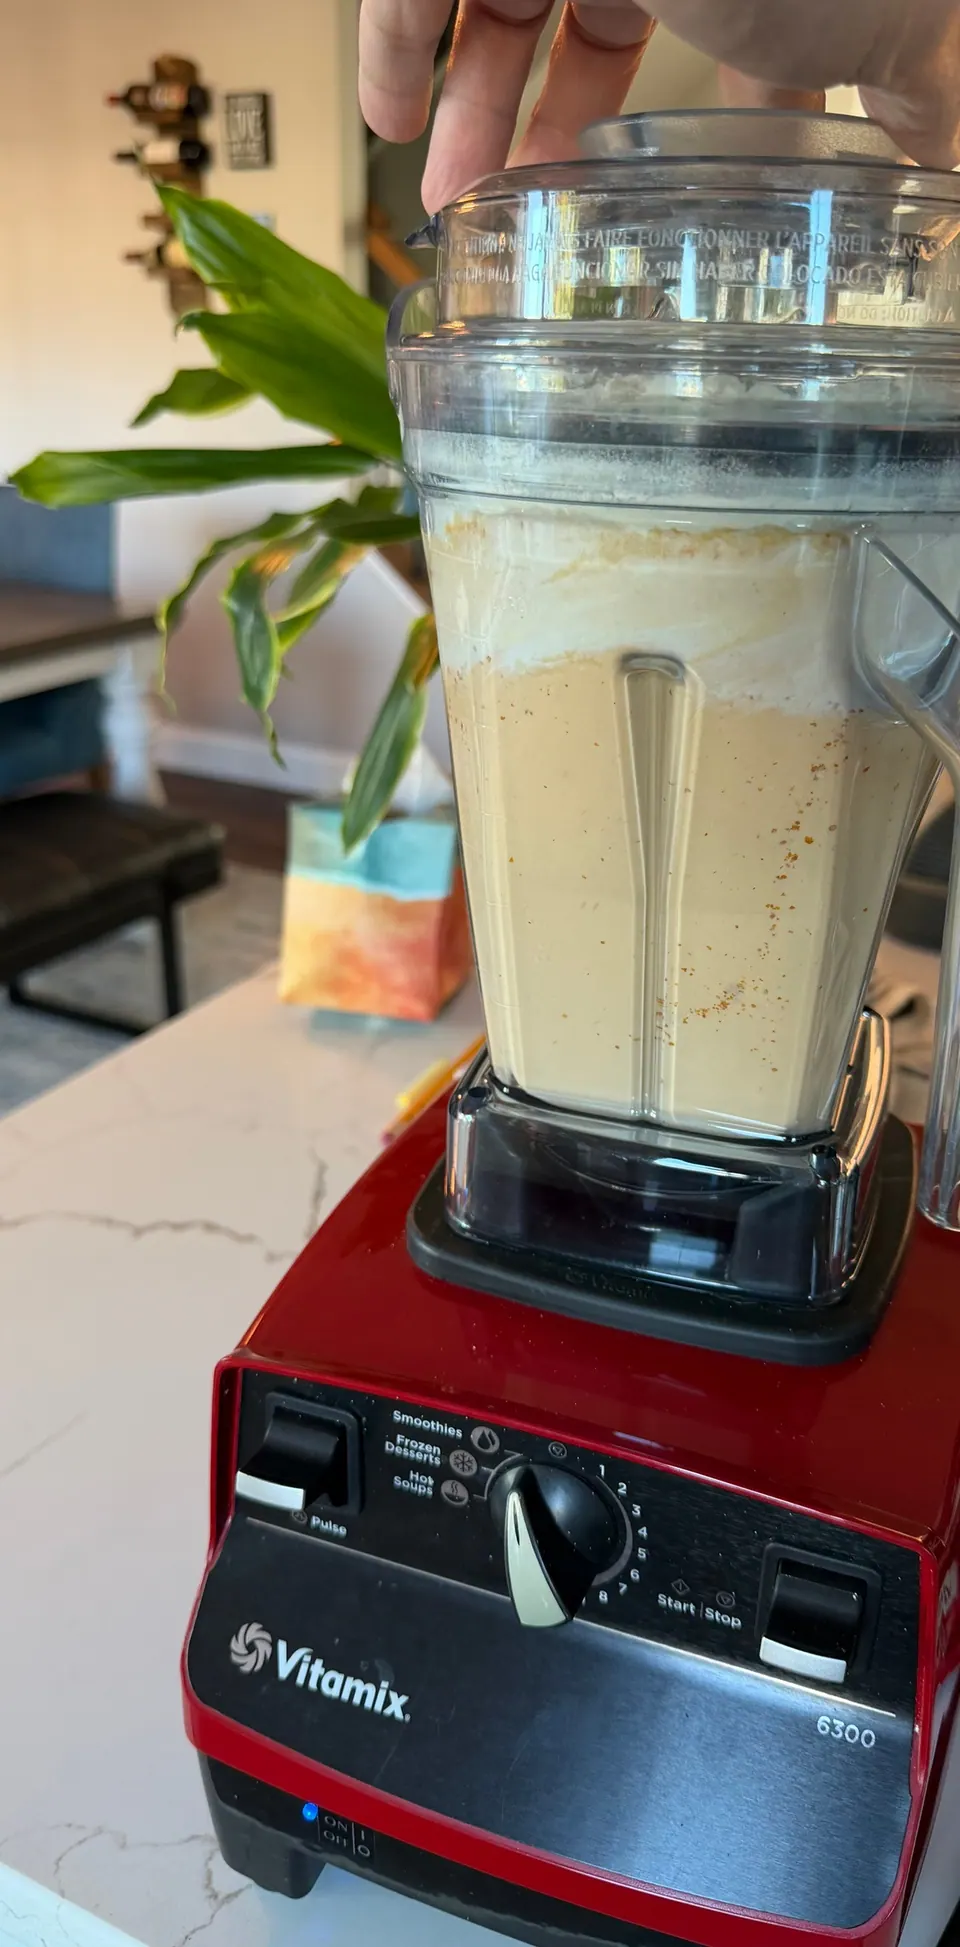
Blend the cottage cheese and pumpkin puree first, on their own, until completely smooth. Your blender will be very full, so this keeps it from turning into a mountain of ingredients.
2
Add the 6 scoops of protein powder, sweetener, pumpkin pie spice and vanilla, and blend until smooth and creamy.
3
Add the eggs and just pulse a few times until they are barely mixed in. Don’t blend on high; whipping the eggs adds air, which causes cracks.
Pour, tap and bake
1
Pour the filling over the pre-baked crust and smooth the top.
2
Gently tap the pan on the counter a few times to pop any trapped air bubbles.
3
Bake at 300°F for , since every oven is a little different. Start checking at . It’s done when the top looks matte instead of shiny and wet, the edges are set with a little light browning, and the center 2–3 inches jiggles as one piece, like set gelatin, when you gently nudge the pan (about 170–175°F in the very center on an instant-read thermometer). If the center ripples like liquid, bake 5 more minutes and check again. Don’t wait for the center to firm up; it finishes setting as it cools.
Cool and chill
1
Let the pie cool on the counter for , then run a thin knife around the edge to loosen it, leaving the ring on.
2
Refrigerate with the ring still on for at least (overnight is best) so it sets into a dense, classic pumpkin pie texture. Release the springform ring only once it’s fully chilled, then cut into 12 slices.
Notes
Use pure pumpkin puree, not pumpkin pie filling (it’s already sweetened and spiced).
Pumpkin needs a little more sweetener than a plain dairy custard, which is why the filling uses a full cup.
No cracks: pulse the eggs in at the very end, tap out the air bubbles and bake low and slow at 300°F.
Is it done? Matte top, set edges with light browning, and a center that jiggles as one piece (not in waves). An instant-read thermometer should read 170–175°F in the middle. A firm center means it’s overbaked.
Parchment + spray: the parchment round lines the bottom, and a light coat of baking spray on the parchment and the sides keeps the crust and filling from sticking.
When to open the springform: loosen the edge with a thin knife after the 1-hour cool, but keep the ring on until the pie is fully chilled. Released warm, the soft center can sag or crack.
Full blender: blend the cottage cheese and pumpkin alone first, then add everything else.
Large blender (64 oz or bigger; it will be very full)
Some links on this page are affiliate links. If you buy through them we may earn a small commission at no extra cost to you. It keeps the kitchen lights on.
Nutrition Facts
12 servings per recipe
Serving size1 slice (1/12 of a 9-inch pie)
Amount per servingCalories
291
% Daily Value*
Total Fat 14.5g19%
Saturated Fat 5.4g27%
Cholesterol 124mg41%
Sodium 426mg19%
Total Carbohydrate 12g4%
Dietary Fiber 2.3g8%
Total Sugars 5.5g
Includes 0.1g Added Sugars0%
Protein 30.5g61%
* The % Daily Value tells you how much a nutrient in a serving contributes to a daily diet. 2,000 calories a day is used for general nutrition advice.
Macro mix
291cal
41% Protein 30.5g
16% Carbs 12g
43% Fat 14.5g
Protein score
10.5g protein per 100 calories
TreatBalancedHighPowerhouse
Protein powerhouse
Nutrition is an estimate per serving, calculated from USDA ingredient data and will vary with brands and portions. Optional items not included: baking spray for the pan sides (negligible). Zero-calorie granular sweetener (e.g. erythritol or allulose) counted as 0 calories and 0 net carbs. Calculated from the nutrition labels of the products we used: finely sifted almond flour, vanilla whey protein (31 g scoop: 120 calories, 24 g protein), 4% small-curd cottage cheese, canned 100% pure pumpkin and grass-fed ghee (1 tbsp: 90 calories). Other brands will vary a little. Use it as a guide, not medical advice.
9-Inch High-Protein Cottage Cheese Pumpkin PieScreen stays on
Prep the oven and pan
Step 1 of 14
Preheat the oven to 300°F (150°C). Lay a 9-inch parchment round in the bottom of a 9-inch springform pan, lock the ring in place and lightly spray both the parchment and the sides with baking spray.
You'll need
Baking spray, for the parchment and sides of the pan
Make and pre-bake the crust
Step 2 of 14
In a large bowl, mix the almond flour, 2 scoops of protein powder, sweetener and cinnamon.
You'll need
1 cupalmond flour (112 g, finely sifted)
2scoops vanilla whey protein powder (62 g; about 24 g protein per scoop)
½ cupzero-calorie granular sweetener
2 tspcinnamon
Make and pre-bake the crust
Step 3 of 14
Stir in the melted ghee until the mixture looks like coarse, wet sand and holds together when pinched (see the video above).
You'll need
4 tbspmelted ghee (clarified butter)
Make and pre-bake the crust
Step 4 of 14
Press the crust firmly and evenly into the bottom of the pan.
Make and pre-bake the crust
Step 5 of 14
Bake the crust for about , until the edges are just golden.
Make and pre-bake the crust
Step 6 of 14
Let the crust cool for while you make the filling. Keep the oven at 300°F.
Blend the filling
Step 7 of 14
Blend the cottage cheese and pumpkin puree first, on their own, until completely smooth. Your blender will be very full, so this keeps it from turning into a mountain of ingredients.
You'll need
4 cupscottage cheese (32 oz; 4% small curd)
2 cups100% pure pumpkin puree (16 oz; not pumpkin pie filling)
Blend the filling
Step 8 of 14
Add the 6 scoops of protein powder, sweetener, pumpkin pie spice and vanilla, and blend until smooth and creamy.
You'll need
6scoops vanilla whey protein powder (186 g; about 24 g protein per scoop)
1 cupzero-calorie granular sweetener
2 tbsppumpkin pie spice
2 tspvanilla extract
Blend the filling
Step 9 of 14
Add the eggs and just pulse a few times until they are barely mixed in. Don’t blend on high; whipping the eggs adds air, which causes cracks.
You'll need
4 largeeggs
Pour, tap and bake
Step 10 of 14
Pour the filling over the pre-baked crust and smooth the top.
Pour, tap and bake
Step 11 of 14
Gently tap the pan on the counter a few times to pop any trapped air bubbles.
Pour, tap and bake
Step 12 of 14
Bake at 300°F for , since every oven is a little different. Start checking at . It’s done when the top looks matte instead of shiny and wet, the edges are set with a little light browning, and the center 2–3 inches jiggles as one piece, like set gelatin, when you gently nudge the pan (about 170–175°F in the very center on an instant-read thermometer). If the center ripples like liquid, bake 5 more minutes and check again. Don’t wait for the center to firm up; it finishes setting as it cools.
Cool and chill
Step 13 of 14
Let the pie cool on the counter for , then run a thin knife around the edge to loosen it, leaving the ring on.
Cool and chill
Step 14 of 14
Refrigerate with the ring still on for at least (overnight is best) so it sets into a dense, classic pumpkin pie texture. Release the springform ring only once it’s fully chilled, then cut into 12 slices.
Behind the recipe
The story, tips & photos
Why a whole pie?
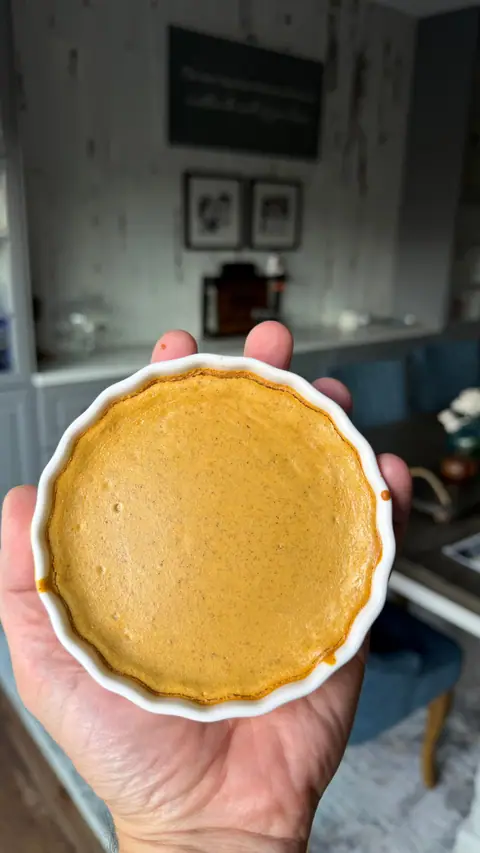
Our mini pumpkin pies in ramekins are perfect when everyone wants their own. But some days call for a real pie: something to set in the middle of the Thanksgiving table, slice at the counter, or keep in the fridge for a high-protein dessert all week. Same creamy cottage cheese filling, same crispy almond-protein crust, just baked as one beautiful 9-inch pie.
What makes it high protein
The filling is cottage cheese, blended until completely smooth, with pure pumpkin and vanilla protein powder. The cottage cheese disappears into the pumpkin and gives the pie a rich, custard-like texture, while the protein powder adds even more protein and a gentle sweetness. A zero-calorie sweetener keeps the added sugar at zero, and pumpkin pie spice does the rest.
How the protein crust should look
The crust is almond flour, protein powder, cinnamon, sweetener and melted ghee (clarified butter). Before you press it into the pan, it should look like coarse, wet sand and hold together when you squeeze it, like this:
The almond protein crust should look like coarse, wet sand and hold together when squeezed
Press it firmly and evenly over the parchment-lined bottom of the springform pan (a light coat of baking spray on the parchment and the sides keeps everything from sticking), then give it a short pre-bake so it stays crisp under the creamy filling.
Blend it in two stages
This pie makes about 8 cups of filling, and it fills a large 64 oz blender almost to the brim, so you need a big one. The trick: blend the cottage cheese and pumpkin on their own first until completely smooth. Once they've turned silky, add the protein powder, sweetener, spice and vanilla and blend again. Doing it in two stages keeps you from piling everything in at once and ending up with an ingredient mountain the blades can't reach.
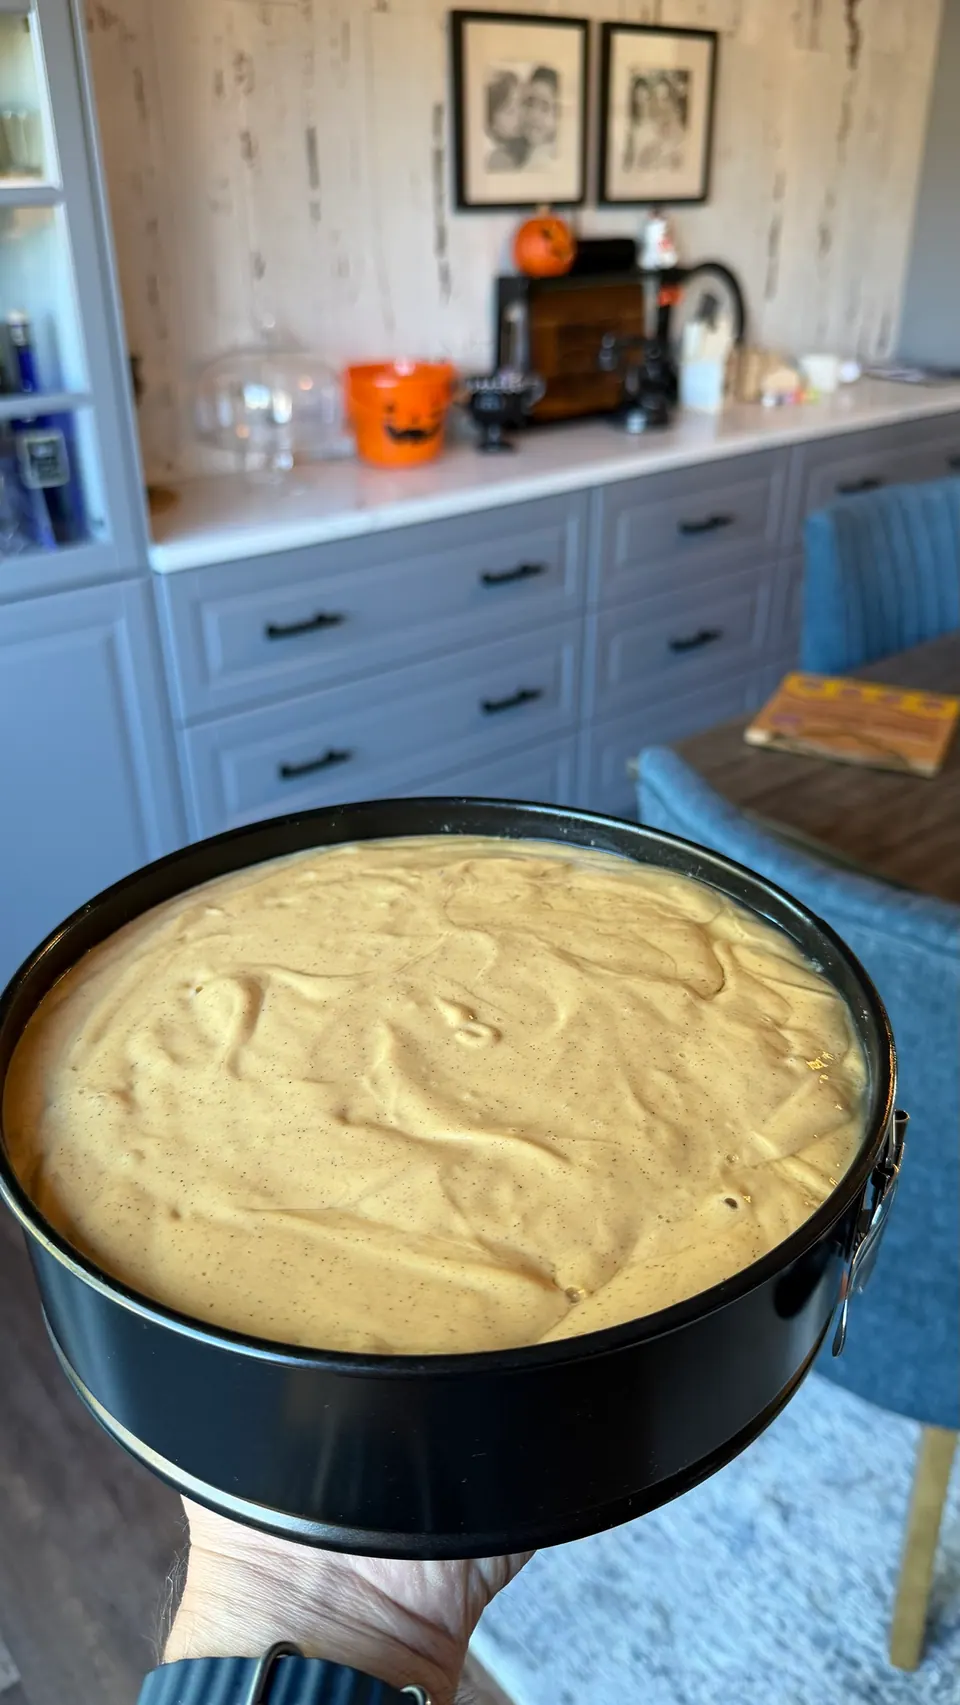
Pulse the eggs in last, then pour the filling over the pre-baked crust. It should be thick, creamy and speckled with spice, like this:
Tips for a smooth, crack-free pie
Pulse the eggs in last. Blend everything else on high until smooth, then only pulse the eggs a few times. Whipping them adds air, and air is what causes cracks.
Tap gently. Tap the filled pan on the counter a few times to release air bubbles. A springform pan doesn't need a hard drop.
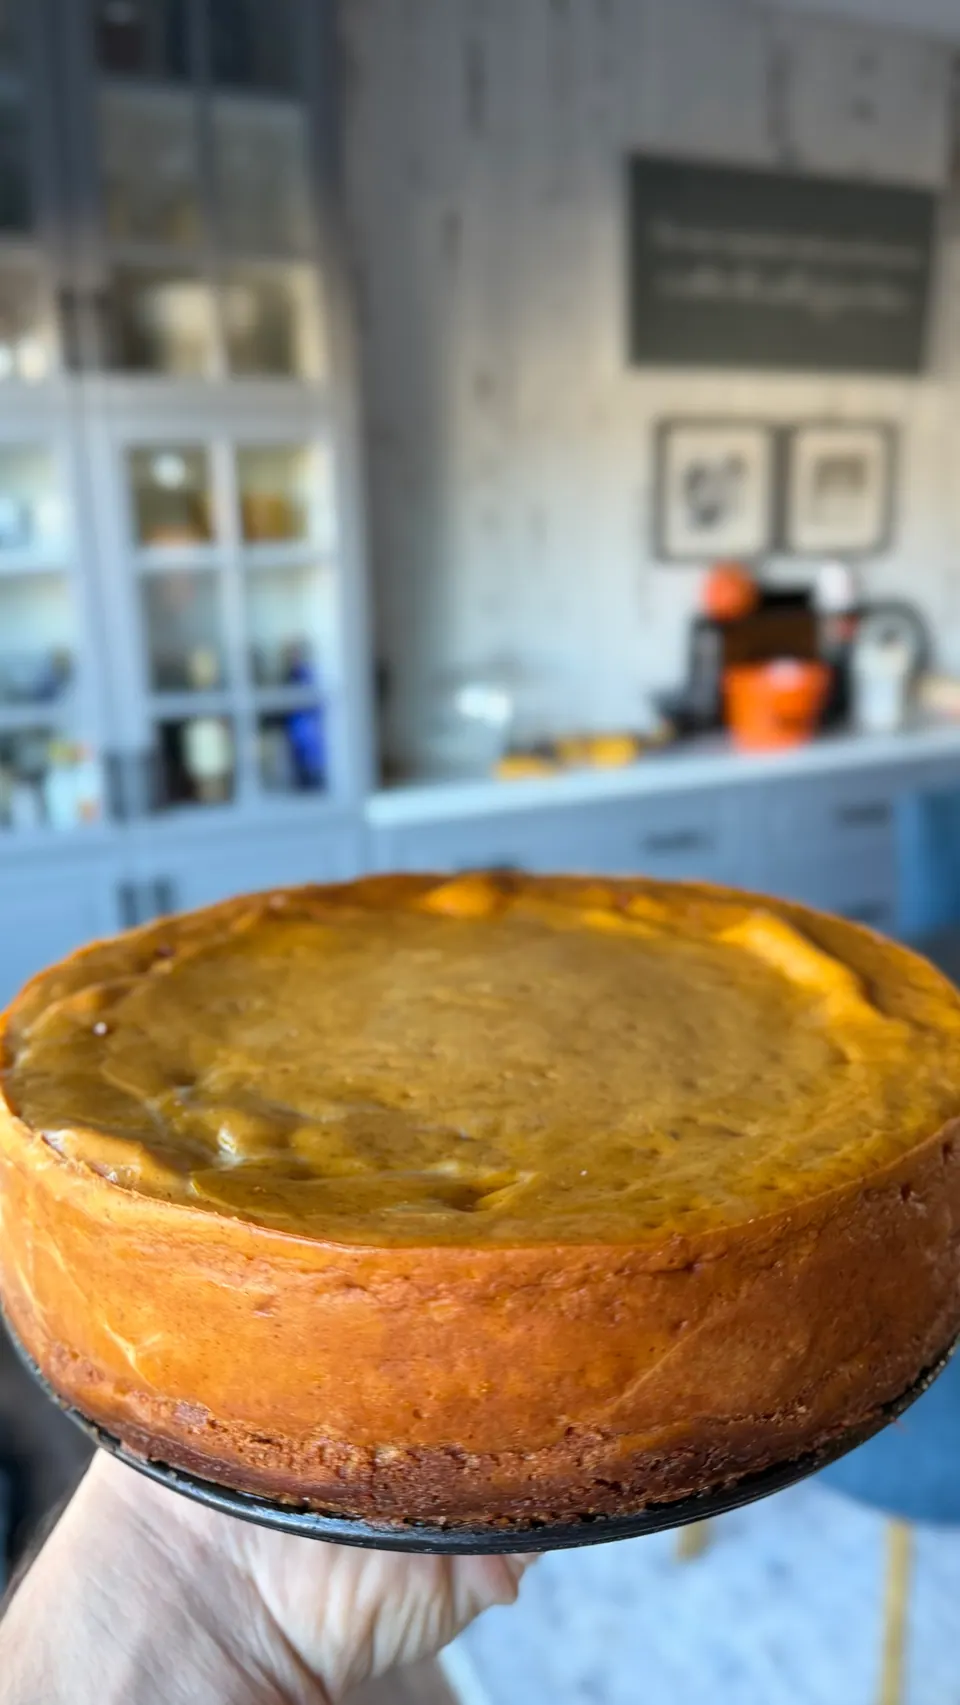
Bake low and slow, and know when to stop. 300°F for 50 to 60 minutes; start checking at 50. It’s ready when:
the top looks matte, not shiny and wet,
the edges are set with a little light browning, and
the center 2 to 3 inches jiggles as one piece, like set gelatin, when you gently nudge the pan. If it ripples like liquid, give it 5 more minutes.
For certainty, an instant-read thermometer should read 170 to 175°F in the very center. Don’t wait for the middle to firm up: it keeps setting as it cools, and a firm center in the oven means overbaked and cracked.
Open the springform last. After an hour on the counter, run a thin knife around the edge but leave the ring on. Chill at least 6 hours (overnight is best) and release the ring only once the pie is fully set.
9-Inch High-Protein Cottage Cheese Pumpkin Pie: your questions answered
Is this pumpkin pie actually healthy?
Each slice has about 290 calories and 30 g of protein, roughly 10 g of protein per 100 calories, with no added sugar thanks to a zero-calorie sweetener. That makes it a dessert that’s high in protein and low in calories at the same time.
Why put cottage cheese in pumpkin pie?
Blended until completely smooth, cottage cheese melts into the pumpkin and gives the filling a rich, creamy custard texture, with far more protein and fewer calories than cream or evaporated milk. You won’t taste or see any curds.
Can I use canned pumpkin pie filling?
No. Use 100% pure pumpkin puree. Pumpkin pie filling already contains sugar and spices, which would change both the flavor and the nutrition.
How do I keep the pie from cracking?
Add the eggs last and only pulse them in, gently tap the filled pan on the counter to release air bubbles, and bake low at 300°F until the center still jiggles slightly.
Can I make it ahead?
Yes, it’s even better made ahead. Chill it at least 6 hours, ideally overnight, and keep it covered in the fridge.

Questions & comments
Leave a commentNo comments yet. Be the first to tell us how it turned out!